How to Clean Hair Clippers in 9 Steps
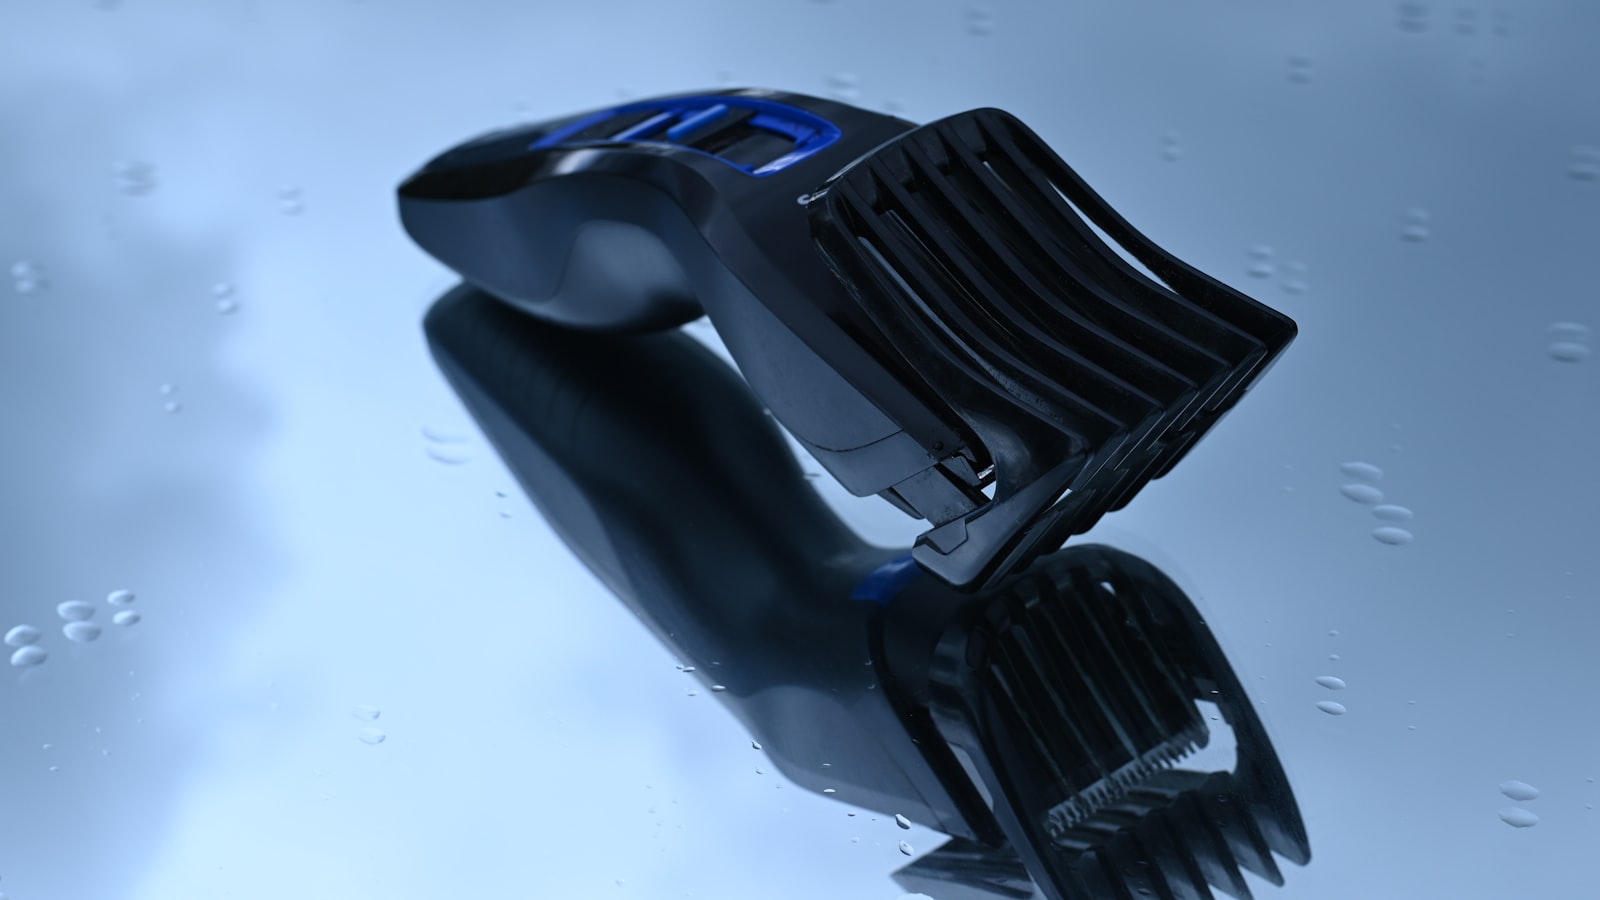
Photo by Andres Siimon on Unsplash
Disclosure: Some links below are affiliate links. If you buy through them we may earn a small commission at no extra cost to you. This never affects our recommendations.
Key Takeaways
Cleaning hair clippers isn’t hygiene—it’s mechanical maintenance. Hair wrapped around the motor shaft causes overheating; debris between blades creates pulling and uneven cuts. Most clippers only need the blade and guard removed for a full clean—never force parts that resist. A stiff brush or compressed air clears the motor shaft; water or oil will damage it. After cleaning, blades shift out of alignment—realign them with the manufacturer’s gap tool or a credit card as a feeler gauge. Clean regularly, or immediately if clippers pull, leave lines, or feel hot. These symptoms mean the machine is already failing—fix them before they worsen.
Part of our complete guide: for the full picture, see Hair Clipper Losing Power Mid Cut: 6 Fixes (2026).
Why Cleaning Clippers Prevents Mechanical Failures (Symptom Guide)
Cleaning clippers isn’t about hygiene—it’s about keeping the machine running like it should. Hair and debris don’t just sit there; they create friction, block airflow, and throw moving parts out of alignment. Each symptom you notice—pulling, lines, overheating—maps directly to a specific failure point inside the clipper.
Pulling hair? The motor shaft is wrapped
Hair doesn’t just clog the blades—it winds around the motor shaft, increasing resistance. The motor has to work harder to spin, which makes it heat up and draw more current. The result? A clipper that tugs instead of gliding, drains the battery faster, and eventually stalls. Clearing the shaft restores smooth operation without sharpening.
Leaving lines or uneven cuts? Debris is misaligning the blades
A single hair or speck of dust under the blade assembly is enough to throw off the gap. Even a small shift creates visible lines or patches where the clipper cuts unevenly. Cleaning the blade assembly removes the obstruction, and realigning the blades afterward fixes the problem—no sharpening required.
Overheating or stalling? Hair and dust are insulating the motor
Clippers rely on airflow to dissipate heat. When vents and housing are clogged, heat builds up until the motor shuts down to protect itself. Clearing the vents and housing restores cooling, preventing thermal shutdowns and extending the motor’s life.
Battery draining too fast? The motor is fighting debris
A motor struggling against hair-wrapped shafts or misaligned blades draws more current. Regular cleaning can improve efficiency, giving you longer runtime between charges.
Rattling or vibrating? Loose debris is unbalancing the blade assembly
Hair and dust trapped in the blade assembly create imbalance, causing the clipper to rattle or vibrate. Removing the debris restores stability, eliminating the noise and preventing premature wear on the motor.
Each of these symptoms has a mechanical root cause—and a mechanical fix. Cleaning isn’t just maintenance; it’s troubleshooting.
Tools You’ll Need (And What to Avoid)
Cleaning clippers isn’t about scrubbing—it’s about restoring mechanical function. The wrong tool turns a 10-minute job into a blade replacement. Here’s what actually works, why it’s necessary, and what to skip.
What to Use (And Why)
Stiff-bristle brush – Hair wraps around the motor shaft like fishing line around a reel. A soft brush (or worse, a toothbrush) bends instead of dislodging it. Look for bristles stiff enough to scrape but not so hard they scratch plastic housings. Makeup brushes or clipper-specific cleaning brushes are common choices, but the stiffness—not the label—decides whether it works.
Compressed air – Vents clog with dust and hair fragments, choking airflow and overheating the motor. A can or electric blower clears them without disassembly. The key is direction: angle the nozzle to blow debris out of the housing, not deeper in.
Isopropyl alcohol (90%+) – Oil and hair buildup on blades turns into a gummy paste that dulls edges and causes pulling. Alcohol dissolves it without leaving residue. Water, even distilled, introduces rust risk—blades are high-carbon steel, not stainless.
Microfiber or lint-free cloth – Paper towels shed fibers that jam between blades. A clean microfiber or a dedicated lint-free rag wipes without contamination. If you see lint after wiping, you’re using the wrong material.
Blade alignment tool (or credit card) – Eyeballing blade gap after cleaning guarantees uneven cuts. Most clippers include a plastic alignment tool; if yours didn’t, a credit card’s thickness is a reliable stand-in. Slide it between the blades, press until it stops, and tighten—no guessing.
What to Avoid (And Why It Fails)
Paper towels – Fibers stick to blades and clog the cutting teeth. Even “lint-free” varieties aren’t designed for precision surfaces.
WD-40 – It’s a water displacer, not a cleaner. Leaves a film that attracts hair and dust, accelerating buildup.
Dish soap – Designed to cut grease, not clipper oil. Residue interferes with proper lubrication and can corrode blade coatings over time.
Toothbrushes – Too soft to dislodge hair from the motor shaft. They’re fine for surface debris but useless for the root cause of overheating.
Eyeballing blade alignment – A gap too wide leaves lines; too tight causes pulling. The difference between “right” and “ruined” is thinner than a sheet of paper—measure it, don’t guess.
Step 1: Disassemble Without Breaking Anything (Model-Specific Checks)
Before you touch a single screw, remove the blade and guard—these are the only parts designed to come off for cleaning. If they resist, don’t force them. Look for hidden screws or release tabs (small arrows or indentations near the hinge are common). Cordless clippers? Pull the battery first—no exceptions. A short circuit here turns a cleaning job into a repair bill.
Most clippers follow the same disassembly logic: screws secure the housing, tabs lock the blade in place, and the motor shaft is the only part that shouldn’t come apart without a service manual. If a component refuses to budge, stop. The manual (usually available online as a PDF) will show you the exact disassembly path—no guessing. Take photos before you separate anything, especially the blade alignment. That tiny gap between the moving and stationary blades? It’s the difference between a clean cut and a hack job, and reassembling it wrong means starting over.
Step 2: Clear Hair from the Motor Shaft (The Overheating Fix)
Photo by Andrea Donato on Unsplash
To prevent mechanical failures, it’s crucial to remove hair from the motor shaft, a step often overlooked in clipper cleaning. Hair wraps tightly around the motor shaft, creating friction and heat. Use a stiff brush to loosen it, then pull gently with tweezers or a toothpick. For stubborn hair, use compressed air to blow it out from the motor housing, holding the clipper upside down to let debris fall out.
Never use water or oil on the motor shaft, as this can damage the motor or cause rust. If the motor still feels hot after cleaning, the issue may be a failing bearing. Check for symptoms of a failing bearing, such as increased vibration or noise, and consult the manufacturer’s guidelines for diagnosis and repair.
By following these steps, you can help ensure your clippers continue to function properly and prevent overheating issues.
Step 3: Clean the Blade Assembly (Prevent Lines and Pulling)
To prevent mechanical failures, cleaning the blade assembly is crucial. Hair and debris accumulate between the blades, causing pulling and uneven cuts. Cleaning the blades without dulling them requires careful attention to detail.
Soak the blade in isopropyl alcohol for a few minutes to dissolve old oil and debris. Then, scrub the blade with a stiff brush to remove any remaining grime. Wipe the blade dry with a microfiber cloth to prevent water spots. For stubborn grime, use a cotton swab dipped in alcohol to clean between the teeth of the blade. Avoid soaking the entire clipper, as this can damage the electrical components. Only the blade should touch liquid.
After cleaning, re-oil the blade to keep it running smoothly. Refer to our guide on How to Oil Hair Clippers: 7 Key Steps for more information. Regular cleaning and maintenance of the blade assembly will help prevent lines and pulling, ensuring a smooth cutting experience.
Step 4: Clear Vents and Housing (Stop Overheating for Good)
To prevent overheating and ensure your clippers continue to function properly, it’s essential to clean the vents and housing.
Use compressed air to blow dust and hair out of the vents. Hold the clipper at an angle to let debris fall out. For clippers with removable side panels, open them to clean the internal housing. Use a brush to dislodge dust, then blow it out with compressed air. Never use a vacuum—it can create static electricity that damages the motor. If vents are clogged with oil or grime, use a cotton swab dipped in alcohol to clean them. This method ensures you remove the blockage without damaging the clipper’s internal components. By following these steps, you’ll improve airflow and help prevent overheating.
Step 5: Reassemble and Realign Blades (Avoid Uneven Cuts)
To ensure your clippers cut cleanly and evenly, it’s crucial to realign the blades after cleaning. Start by placing the blade back on the clipper and securing it loosely. Next, use the manufacturer’s gap tool or a DIY method, such as a credit card, to set the correct alignment. Slide the tool between the blades and adjust until there’s slight resistance—this ensures the blades are parallel and evenly spaced. Tighten the blade screws evenly to avoid misalignment. Test the clipper on a piece of paper—it should cut cleanly without snagging. If the clipper still leaves lines, the blade may need sharpening.
The key to successful realignment is to check the blade gap and adjust it according to the manufacturer’s specifications. By following these steps, you can help prevent uneven cuts and keep your clippers in good working condition.
Step 6: Test for Mechanical Issues (3 Quick Checks)
To ensure your clippers are working properly after cleaning, perform these three quick checks. First, listen for unusual noises: a clean clipper should run smoothly without rattling or grinding. Next, feel for heat: after 2–3 minutes of use, the clipper should be warm but not hot to the touch. Finally, test on hair or paper: the clipper should cut cleanly without pulling or leaving lines. If it snags, recheck blade alignment as described in Step 5. These checks will help you identify any mechanical issues that may have arisen during the cleaning process.
How Often to Clean Clippers (Symptom-Based Guide)
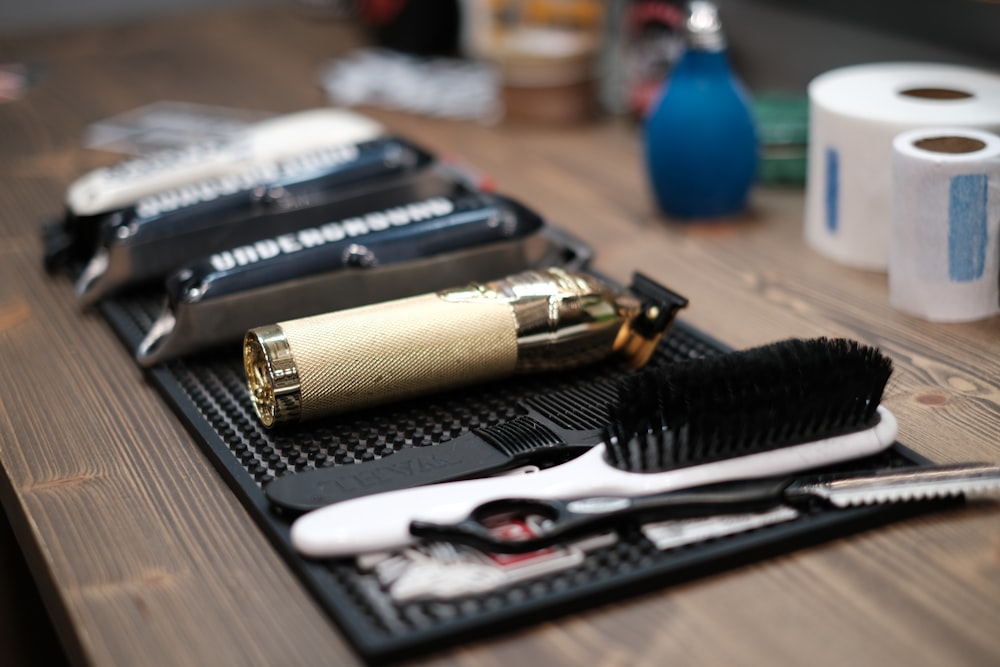 Photo by Federico Tonini on Unsplash
Skip the calendar—clean your clippers when the symptoms show up, not when the clock says so. A shiny cobalt guard doesn’t mean the motor shaft under it is clear, and an odorless housing can hide hair packed into the vents. The right time to clean is defined by the clipper itself: listen to the sound, watch the cut, feel the heat.
Home barbers: Clean when the job changes
Run a clean clipper for a few haircuts, then check it before the next session. If you notice pulling, overheating, or uneven lines, stop and clean immediately—those three symptoms map directly to the three places hair collects: the motor shaft, the blade assembly, and the housing vents. Waiting until the clipper sounds rough or smells hot guarantees extra work; a two-minute inspection after every use catches debris before it packs tight.
Professional barbers: Daily when the chair is full
In a busy chair, the motor shaft can see a full day’s worth of hair in a single shift. Clean clippers after every 1–2 clients if the sessions run thick or curly hair—thicker strands wrap tighter and seize faster. Use the post-cut test: set the clipper on the bench with the blade down and the power on; if the shaft doesn’t spin freely, shut it off and clear the hair right then. A seized shaft is a seized motor in minutes, not hours.
After thick or curly cuts: Immediate clean
Curly hair, coarse beard, or wet hair all swell the workload on the motor. Clean right after the haircut, before the residue dries into a paste that locks between the blades and around the vents. The symptom is unmistakable: the clipper sounds sluggish or squeals within seconds of turning on. That squeal is the motor shaft struggling against packed hair—shut it off and clear the blockage before it overheats.
Stored clippers: Clean and oil before the first use
A clipper left idle gathers dust and moisture. Before you pull it from storage, open the housing and inspect the vents and blade rails. If you see dust rings or rust spots, wipe with a dry microfiber cloth, then apply a single drop of clipper oil to the blade pivot and the motor shaft. The test run afterward will tell you whether the oil reached the trouble spots: a smooth, quiet spin means the parts are protected; a sudden rattle means the oil never made it past the first bearing.
The one-minute decision rule
Use these three checks to decide in real time:
- Sound test: Turn on the clipper and set it on the bench. A clean clipper spins up in under a second with a steady hum. If it hesitates or squeals, clean the motor shaft immediately.
Frequently Asked Questions
Can I use water to clean hair clippers?
Yes—but only where water is safe. The blade assembly can usually handle water if you’ll be oiling it afterward, but keep the motor, housing, and battery compartment completely dry. Water trapped in vents or around the switch will cause corrosion or short circuits. Clean the blades under running water, but towel-dry them immediately, then oil before reassembly. If your clippers are labeled waterproof, follow the protection class on the manual—those numbers define how much water they actually accept.
What happens if I don’t clean my clippers?
You’ll accelerate mechanical failure. Hair and debris in the motor shaft create drag, overheating the motor and shortening its life. Blades clogged with dried product pull hair and leave uneven cuts because they can’t close properly. Overheating from clogged vents causes premature wear on bearings and windings. The symptoms show up as pulling, stalling, uneven cuts, or a burning smell—all signals that a simple cleaning could have prevented.
How do I clean clippers without taking them apart?
You can brush off the blade assembly and wipe the housing, but this only removes surface hair. Motor shaft cleaning is difficult without disassembly, and that’s where most failures start. Skip the disassembly and you’ll still face heat, pulling, and wear—because hair migrates into the shaft regardless of how well you wipe the outside. If you’re avoiding full disassembly, at least remove the blade guard and brush aggressively around the hinge, then run the clipper upside down to shake out loose hair from the vents.
Why do my clippers still pull hair after cleaning?
If pulling persists, the issue almost always lies in the blade gap or misalignment, not leftover hair. Check the blade gap—close the blades until they just touch, then back off slightly to restore proper cutting clearance. If that doesn’t work, the blades themselves may be worn or bent—replace them if they snag or skip. Over-oiling can also gum up the blades, trapping hair instead of letting it slide off. A post-cleaning diagnostic will catch this: after reassembly, run a test cut on a thick section of hair. Pulling during the test means the gap is still too tight or the blades need replacing.
Can I use WD-40 to clean clippers?
No—not for long-term maintenance. WD-40 displaces moisture and loosens rust, but it isn’t a lubricant, and it evaporates quickly. After using it to unstick blades or loosen hair buildup, follow up with a proper clipper oil on the blades and pivot points. Using WD-40 as your only maintenance will leave the blades dry and prone to rust, and the solvent can degrade plastic over time. Stick to clipper-specific oil or a light machine oil labeled for electric motors—look for low viscosity and no additives that could gum up the mechanism.
How do I clean the inside of my clipper motor?
You can’t—not fully. The motor stator (the stationary part) is sealed, and disassembling it risks misalignment or breaking the magnet assembly. Clear hair from the motor shaft and vents only—this is the accessible part. Use a stiff brush to pull hair out of the shaft housing and a vacuum (on low suction) to clear vents. If the motor still overheats after cleaning, the issue is likely bearing wear or winding damage.
Symptom-Based Cleaning: Map Steps to Mechanical Failures
| Symptom | Root Cause | Cleaning Step | Verification |
|---|---|---|---|
| Pulling hair | Hair wrapped around motor shaft | 1. Remove blade & guard. 2. Use stiff brush to loosen hair. 3. Pull hair with tweezers. 4. Blow out debris with compressed air. | Spin motor shaft by hand—should rotate freely without resistance. |
| Lines/uneven cuts | Debris misaligning blades | 1. Remove blade. 2. Brush between teeth. 3. Wipe with alcohol. 4. Realign with gap tool (or credit card). | Slide gap tool between blades—should stop at the same thickness along entire edge. |
| Overheating | Clogged vents/housing | 1. Blow compressed air into vents. 2. Brush out hair from housing. 3. Wipe interior with dry cloth. | Run clipper for 30 sec—should not feel hot to the touch or shut off. |
| Battery drains fast | Motor fighting debris | 1. Clear motor shaft (see “Pulling”). 2. Clean blade assembly (see “Lines”). 3. Check for loose screws. | Compare runtime before/after—should see improved performance. |
| Rattling/vibration | Loose debris in blade assembly | 1. Remove blade. 2. Tap housing to dislodge debris. 3. Brush between teeth. 4. Reassemble tightly. | Run clipper—noise should stop; vibration should feel smooth. |
Key Rule: Never skip the verification step. If the symptom persists after cleaning, the issue is likely wear (e.g., worn blades, failing motor)—not debris. Check the manufacturer’s troubleshooting guide for next steps.
Final Thoughts: The One Cleaning Habit That Prevents Most Clipper Problems
Cleaning the motor shaft regularly is one of the most effective ways to stop overheating, pulling, and uneven cuts before they start. Hair wraps around the shaft, builds up heat, and eventually grinds the motor to a stall. Skip this step, and no amount of blade sharpening or oiling can offset the damage to the motor below. Treat it like routine maintenance—do it by feel, by use, not by the calendar. If you start smelling plastic or hearing the motor labor through a cut, that’s your cue the shaft already needed attention.
Pair every motor-shaft cleaning with regular oiling. The oil you apply afterward is what keeps the blades gliding instead of seizing, extends the life of the cutting edge, and prevents the motor from working harder than it should. Together, these two habits prevent the mechanical failures that make clippers pull hair, leave lines, or overheat after a few minutes of use. Ignore them, and you’re running a machine that’s already wearing itself out.
Still hearing grinding, seeing uneven cuts, or feeling the clipper bog down after cleaning? The culprit is often blade tension—the gap between the stationary and moving blades may be too wide or too tight. A quick tension check can resolve many of these remaining issues. If tension isn’t the problem, the blades themselves may be past their useful life and need professional sharpening or replacement. Start with tension before you assume the worst.
Keep reading
Keep exploring the topic with these related guides: