How Often to Replace Clipper Blades
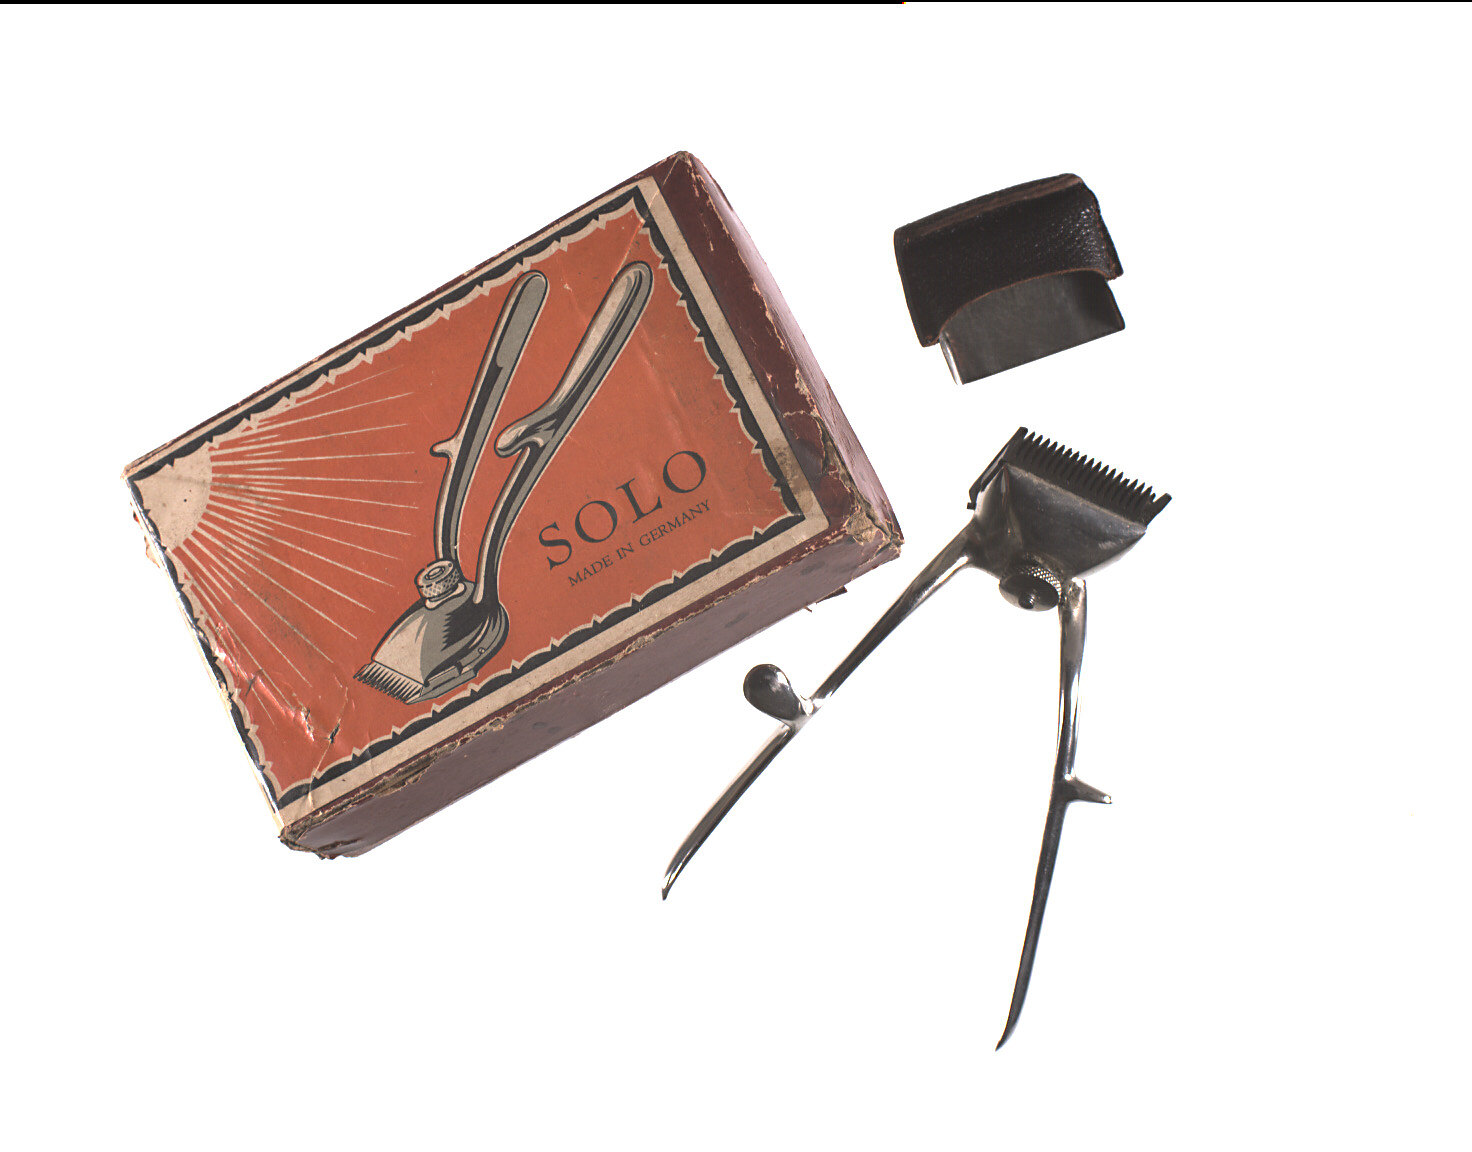
Photo by Photographer: Rodney Start on collections.museumsvictoria.com.au (CC BY 4.0)
Disclosure: Some links below are affiliate links. If you buy through them we may earn a small commission at no extra cost to you. This never affects our recommendations.
Key Takeaways
Replace clipper blades when they pull hair, leave lines, or overheat—not because the calendar says so. Home users typically swap blades every 6–12 months, while pros may need fresh ones every 3–6 months due to heavier use. Lifespan hinges on hair type, maintenance, and blade material (carbon steel dulls faster than ceramic).
Test for wear with a paper strip (a sharp blade slices cleanly) or a single hair strand (should cut without snagging). If the motor runs hotter than usual, the blades are likely worn. Always match replacement blades to your clipper model—compatibility charts are on the manufacturer’s site, not in guesswork.
Part of our complete guide: for the full picture, see Hair Clippers #6 Guard: What It Actually Does & How to Use It.
What to Check Before You Choose
Before you decide whether to replace your clipper blades, verify these key criteria—they determine whether the blades are truly worn out or just need maintenance.
| Criterion | Why it decides the outcome | How to check it yourself | Red flag |
|---|---|---|---|
| Cutting performance on a single hair strand | A sharp blade slices hair cleanly; a worn one pulls or snags, indicating edge rounding or micro-chipping. | Hold a single hair strand taut and run the clipper over it. Look for the manufacturer’s “cutting efficiency” note in the official blade maintenance guide—check if the blade meets the described behavior. | The hair pulls, frays, or doesn’t cut on first pass. |
| Paper-slicing ability | A sharp blade cuts paper cleanly; a dull one tears or leaves jagged edges, revealing uneven wear or misalignment. | Run the clipper over a sheet of printer paper. Refer to the manufacturer’s spec sheet for the expected “paper-cut test” result—compare your outcome to the stated standard. | The paper shreds, tears, or leaves uneven cuts. |
| Motor heat after short use | A fresh blade runs cool; a worn one increases friction, causing overheating within minutes. | Run the clipper for 30 seconds on a dry surface, then check the housing temperature. Consult the official troubleshooting page for the “normal operating temperature range”—verify if your clipper exceeds it. | The housing burns your palm after <5 minutes of use. |
| Vibration during operation | Loose or unevenly worn blades cause rattling or excessive vibration, signaling mechanical failure. | Run the clipper empty, then press your palm against the housing. Check the manufacturer’s blade alignment guide for the “acceptable vibration level”—compare your experience to the described threshold. | Vibration spikes when touching the blade (not the motor). |
| Cutting speed on familiar hair | A blade that once handled thick hair with ease now struggles or stalls, indicating reduced efficiency. | Test the clipper on the same hair type you’ve cut before. Refer to the product’s original performance notes in the user manual—confirm if the current speed matches the expected standard. | The clipper bogs down or stalls on hair it previously cut smoothly. |
| Blade alignment and screw tightness | Misaligned or loose blades cause uneven cuts, overheating, or vibration, even if the edge is still sharp. | Visually inspect the blade gap and tighten screws per the manufacturer’s alignment instructions. Check the official maintenance video for the correct gap measurement—verify if yours matches. | Screws are loose or the blade gap is visibly uneven. |
| Maintenance history (oiling/cleaning) | Neglected blades corrode or gum up, accelerating wear regardless of usage frequency. | Review your oiling and cleaning routine against the manufacturer’s recommended schedule in the care instructions. Look for the “minimum maintenance frequency” note—confirm if you’ve met it. | Skipped oiling after >3 uses or left hair buildup unaddressed. |
Why Blade Replacement Timing Isn’t About the Calendar
Manufacturers love to stamp a neat “replace every 6 months” on the box, but that timeline is a guess, not a rule. Blades don’t wear out on a schedule—they fail when their edges can no longer do the job. Hair type, maintenance habits, and even the angle you hold the clipper all change how fast those microscopic teeth degrade. A blade that lasts a year on fine hair might last six weeks on coarse, thick growth. The calendar doesn’t cut hair; the blade does.
Symptoms like pulling, uneven lines, or overheating aren’t just “dullness”—they’re mechanical breakdowns. A blade that pulls hair is chipping at the microscopic level, turning what should be a clean cut into a tug-of-war. Lines in the hair? That’s edge rounding, where the once-sharp bevel has worn smooth. Overheating? Often a sign the motor’s working harder to push a compromised blade through hair. These aren’t abstract problems; they’re failures you can see, hear, and feel.
The real trigger for replacement isn’t time—it’s performance. A blade’s lifespan is measured in cuts, not months, and those cuts leave distinct wear patterns. Micro-chipping shows up as snagging, edge rounding as uneven cutting, and heat buildup as motor strain. Sharpening can reset some of these, but once the bevel is gone or the teeth are visibly damaged, no amount of honing will bring it back. The sharpening guide walks through how to test for that point of no return—because the only timeline that matters is the one your clippers tell you.
The 5 Mechanical Symptoms That Mean Your Blades Are Worn Out
Blades don’t wear out on a schedule—they wear out when they stop cutting. The calendar tells you nothing; the clipper’s behavior tells you everything. Here are the five symptoms that say it’s time for a replacement, how each one works, and how to test for it at home.
Pulling or Snagging Hair
A sharp blade slices hair cleanly. A worn one rounds over or chips at the edge, turning the cut into a tug-of-war. The test is simple: run the clipper over a single hair strand. If it pulls instead of slicing, the edge is gone. That rounding happens fastest on coarse or curly hair, but even fine hair will snag once the micro-chipping starts.
Leaving Lines or Uneven Cuts
Lines in the hair aren’t just a guard problem—they’re a blade problem. Uneven wear or misalignment means one side of the blade is doing all the work. The paper test reveals it: run the clipper over a sheet of printer paper. A sharp blade cuts cleanly; a dull one tears or leaves jagged edges. If the paper shreds, the blade is done.
Overheating Quickly
Friction turns to heat. A fresh blade runs cool for 20–30 minutes; a worn one gets hot within five. The heat test is a 30-second run on a dry head: if the housing burns your palm, the blades are the first suspect. Overheating isn’t just uncomfortable—it accelerates motor wear, so the symptom becomes the cause.
Rattling or Vibration
Blades loosen over time, and loose blades vibrate. The 30-second hand test isolates it: run the clipper empty, then press your palm against the housing. If the vibration spikes when you touch the blade, the screws are loose or the teeth are worn unevenly. (If the vibration is motor-deep, the issue is elsewhere—see the vibration section below.)
Reduced Cutting Efficiency
A blade that once handled thick hair now struggles. The symptom isn’t just slower cutting—it’s the clipper bogging down or stalling. The test is the same hair you’ve always cut: if it resists more than it used to, the blade is too dull to maintain sharpness. This is the symptom that sends pros to the sharpening block or the replacement bin, depending on the damage.
Each of these is a mechanical failure, not a spec. Test for them in order—pulling first, then lines, then heat—and replace when the symptoms stack up. The blade that fails one test usually fails two.
Home Use vs. Professional Use: How Usage Affects Blade Lifespan
Blade lifespan isn’t about how long you’ve owned your clippers—it’s about how many cuts they’ve made and how hard those cuts were. A home user trimming a single head of hair twice a month will get years of life from a single set of blades, while a barber cutting coarse, curly hair all day may need fresh ones every few months. The difference isn’t the calendar; it’s the workload, the hair type, and whether the blades are treated like the precision tools they are.
Home Users: Maintenance Stretches the Interval
If you’re cutting hair once or twice a month, your blades should last 6–12 months—but only if you oil them after every use and clean out the hair between cuts. The real enemy isn’t wear; it’s corrosion and dried lubricant. A blade that sits idle for weeks can develop micro-rust or gummed-up oil, which dulls the edge faster than actual cutting. For home users, the replacement trigger isn’t the blade’s condition—it’s whether you’ve kept up with maintenance. Skip the oil, and you’ll need new blades in half the time.
Professional Barbers: Volume and Hair Type Dictate Replacement
Barbers who use their clippers daily will see blades wear out in 3–6 months, but the exact timing depends on the hair they’re cutting. Coarse or curly hair accelerates wear by 20–30% compared to fine, straight hair—each curl acts like a tiny saw against the blade’s edge. Professionals should prioritize high-quality carbon steel or ceramic blades, which hold an edge longer under heavy use. The symptom that says it’s time? The clipper pulls hair instead of cutting cleanly, or it leaves uneven lines—both signs the blade’s micro-bevel has rounded off.
The Wildcard: Maintenance Habits
No matter how often you use your clippers, skipping oiling or cleaning can halve a blade’s lifespan. A blade that’s properly maintained between cuts will outlast one that’s neglected, even if the neglected one sees less use. For a deeper dive on how to oil and clean your blades, check out our oiling guide—it’s the difference between replacing blades every 6 months and replacing them every 6 weeks.
How to Test Your Blades for Wear (3 Quick Checks)
To determine if your clipper blades need replacement, you don’t need to rely on a calendar or a fixed schedule. Instead, perform these three quick checks at home to assess the condition of your blades.
The Paper Test
Run the clipper over a sheet of paper. If it tears the paper instead of cutting it cleanly, the blade is likely dull and needs to be replaced. This test is a simple way to check the blade’s cutting ability and can be done in just a few seconds.
The Hair Strand Test
Hold a single hair strand taut and run the clipper over it. If the clipper tugs or pulls on the hair, the blade needs replacement. This test checks the blade’s ability to cut hair smoothly and can help you identify if the blade is worn out.
The Heat Test
Use the clipper for 5 minutes and check if it overheats quickly. If it does, the blades may be worn or misaligned. You can find more information on how to address overheating issues in our overheating guide.
By performing these three quick checks, you can determine if your clipper blades need replacement based on their actual condition, rather than relying on a fixed schedule. Remember to always prioritize the condition of your blades to ensure optimal performance and prevent damage to your clippers.
Blade Material Matters: Carbon Steel vs. Ceramic vs. Titanium
Blade material decides how long your clipper stays sharp, how it fails, and how often you’ll reach for the replacement box—not the calendar. Carbon steel, ceramic, and titanium-coated blades each wear differently under the same workload, and the difference isn’t just lifespan: it’s the symptom that tells you it’s time.
Carbon Steel: The Workhorse That Demands Care
Carbon steel is the default in most clippers because it sharpens cleanly and holds an edge through thick hair. The catch is maintenance: skip the oil or leave the blades wet, and the first sign of trouble isn’t dullness—it’s rust. Once corrosion pits the cutting edge, the blade pulls instead of slices, and no amount of sharpening restores the original geometry. With daily oiling and a dry storage habit, a carbon-steel blade typically lasts 6–12 months in home use; pros who cut all day may see the edge round off in half that time. The failure mode is gradual: first the clipper leaves faint lines in the hair, then it tugs, and finally it overheats because the motor is working harder to push blunt steel through each pass.
Ceramic: Sharp Longer, But Brittle
Ceramic blades stay sharp 2–3× longer than carbon steel and laugh off moisture, so rust never enters the equation. The trade-off is fragility: drop a ceramic blade from counter height and it can chip, turning a $30 replacement into a $30 paperweight. Lifespan runs 12–18 months for home users, but pros who cut 10+ heads a day may replace them sooner if the edge picks up micro-chips from coarse hair or accidental knocks. The symptom that ceramic is done isn’t dullness—it’s a sudden, uneven cut that leaves patchy lines, or a high-pitched whine from the motor as it strains against the jagged edge.
Titanium-Coated: Rust-Proof, But Not Indestructible
Titanium coating adds a corrosion-resistant layer to carbon steel, so the blade resists rust and stays sharp longer than plain steel. The lifespan stretches to 12–24 months with minimal maintenance, but the coating eventually wears through, exposing the softer steel underneath. Once that happens, the blade dulls quickly and starts pulling hair—often within a single cut. The symptom to watch for is a two-stage failure: first the clipper cuts cleanly but feels slightly hotter than usual, then it suddenly starts grabbing hair mid-pass. That second stage means the titanium layer is gone, and the blade is already past saving.
How to Choose: Match Material to Your Workload
Professionals who cut daily and can’t risk downtime should prioritize ceramic or titanium-coated blades; the upfront cost pays for itself in fewer replacements and sharper cuts. Home users who trim once a week and keep up with oiling can stick with carbon steel—it’s cheaper to replace and sharpens easily. The real decision rule isn’t the material name; it’s the symptom you’re willing to tolerate. If you hate the idea of a blade suddenly chipping mid-cut, ceramic is the wrong choice. If you’d rather not oil after every use, titanium or ceramic wins. And if you’re replacing blades more often than the manufacturer’s suggested interval, the problem isn’t the calendar—it’s the material not matching the way you cut.
When to Replace vs. Sharpen: A Decision Guide
Blades don’t fail on a schedule—they fail when they stop cutting cleanly. The choice between replacement and sharpening comes down to one question: can the edge be restored, or is the damage permanent?
Replace if:
- The cutting edge is chipped, cracked, or heavily rusted—sharpening won’t smooth out structural damage.
- Deep grooves or uneven bevels appear along the blade face, causing snags or uneven cuts.
- The blade pulls hair instead of slicing, even after cleaning and oiling, signaling irreversible dulling.
Sharpen if:
- The blade is dull but intact, with no visible chips or warping. A few passes with a honing stone or professional sharpening service can restore performance.
- You’re working with high-end ceramic or titanium-coated blades, which hold an edge longer but require specialized sharpening tools.
Before you buy replacements:
Verify blade compatibility with your clipper model. Not all blades fit all clippers—check the manual or alignment guide to avoid mismatches that cause uneven cuts or motor strain. The wrong blade won’t just perform poorly; it can damage the clipper’s drive mechanism over time.
How to Extend Blade Lifespan: 4 Maintenance Habits That Work
Blades last longer when you treat them like the precision tools they are—not disposable consumables. These four habits prevent the friction, corrosion, and misalignment that force early replacement.
Oil After Every Use
A single drop of clipper oil after each cut prevents metal-on-metal wear and keeps rust at bay. The oil’s job isn’t just lubrication—it flushes out microscopic hair and skin debris that act like sandpaper between the blades. Skip it, and the edges dull faster, the motor works harder, and heat builds up. For the exact steps (including where to apply the oil and how much to use), see our clipper oiling guide.
Clean Blades Regularly
Hair and product buildup between the teeth creates drag, forcing the motor to strain and the blades to overheat. After each use, brush out debris with a small stiff-bristled brush—an old toothbrush works—then blast stubborn particles with compressed air. Never dig into the teeth with metal tools; you’ll chip the edges or bend the alignment. If you cut thick or coarse hair, clean mid-session to prevent clogging.
Store Properly
Moisture and impact are blade killers. After cleaning and oiling, store clippers in a dry case (the one they came in is fine) and keep them away from sinks, steam, or damp towels. If you travel, use a hard-shell case to prevent drops that misalign or chip the blades. A misaligned blade doesn’t just cut poorly—it forces the motor to work harder, accelerating wear on both parts.
Avoid Dropping Clippers
A fall can bend the blade assembly or chip the cutting edges, even if the clipper still turns on. Once the alignment is off, the blades won’t meet cleanly, leaving lines or pulling hair. If you drop your clippers, test them immediately: run a sheet of paper through the blades—if it tears instead of slicing, the alignment is compromised. Some damage can be realigned, but chips mean replacement. Handle them like the tools they are, not like combs.
Frequently Asked Questions
How do I know if my clipper blades are dull?
Blades don’t announce wear with a calendar—they show it in the cut. Pulling, snagging, or uneven lines are the first symptoms. If the motor labors but the hair resists, or if the cut looks patchy despite fresh guards, the edge is gone. Run the paper test: hold a single sheet of printer paper and try to slice it with the blades closed. A sharp edge bites cleanly; a dull one folds the paper or tears it. No guesswork—just the cut itself tells you.
Can I sharpen clipper blades instead of replacing them?
Sharpening buys time, but only if the damage is restorable. If the teeth are rounded or the cutting edge is visibly nicked, replacement is the only fix. For minor dullness, a ceramic honing rod can restore the edge—but only if the alignment is still true. Test alignment first: close the blades and check for daylight between the teeth. If they don’t mesh perfectly, sharpening won’t help. Ceramic blades, in particular, are brittle; once chipped, they’re scrap.
Why do my clipper blades leave lines in the hair?
Lines mean the blades are misaligned or unevenly worn. If the teeth aren’t sitting flush, one side cuts deeper, leaving a visible track. Check for side-to-side play in the blade assembly—if it wobbles, the taper is off. Carbon steel blades wear unevenly over time, especially if oiling was inconsistent. Ceramic blades chip, creating tiny gaps that skip hair. Run the hair strand test: pull a single strand taut and slide the blades along it. If the cut isn’t clean, the edge is compromised.
How long do ceramic clipper blades last compared to steel?
Ceramic blades stay sharp longer but fail catastrophically—they don’t dull, they chip or crack. Carbon steel dulls gradually, giving you warning symptoms (pulling, heat) before it quits. Titanium-coated steel splits the difference: it resists corrosion and holds an edge longer than plain steel, but still dulls eventually. The real variable isn’t material—it’s cuts per week. A home user might get a year from ceramic; a pro could burn through it in a month if the hair is coarse or the clipper is run dry.
What’s the best way to clean clipper blades to extend their lifespan?
Cleaning isn’t about soap—it’s about removing the abrasive paste that grinds the edge away. After every cut, brush out hair with the included tool (or a stiff toothbrush), then wipe the teeth with a dry cloth. Once a week, use a clipper-specific cleaning spray—household cleaners leave residue that gums up the mechanism. Oil immediately after cleaning: one drop per tooth, run the clipper for 3 seconds, then wipe the excess. Never soak blades; water rusts steel and loosens ceramic’s bond. If you cut wet hair, dry the blades thoroughly before storing—corrosion starts in minutes.
Final Thoughts: Replace Blades Based on Symptoms, Not the Calendar
Blades don’t fail on a schedule—they fail when they stop cutting cleanly. Pulling, snagging, or uneven lines aren’t just annoyances; they’re the machine telling you the edge is gone. A calendar can’t diagnose that—only your ears, your fingers, and the cut itself can.
Home users who oil after every use and store blades dry can stretch a set for months, even years. Professionals who run clippers eight hours a day may go through a blade in weeks. The difference isn’t time; it’s friction, corrosion, and how often the motor has to work harder to push dull steel through hair. Test before you replace: the paper slice, the hair strand, the heat after a minute of cutting. If the blade passes all three, it’s still sharp—no matter what the date sticker says.
Sharpening buys time, but only if the damage is superficial. Once the teeth are rounded or the taper is gone, no stone can restore it. That’s when replacement is the only fix. Treat blades like the precision tools they are, and they’ll outlast any arbitrary timeline.
Keep reading
Keep exploring the topic with these related guides: