Clipper Blade Tension Adjustment: 7 Quick Checks
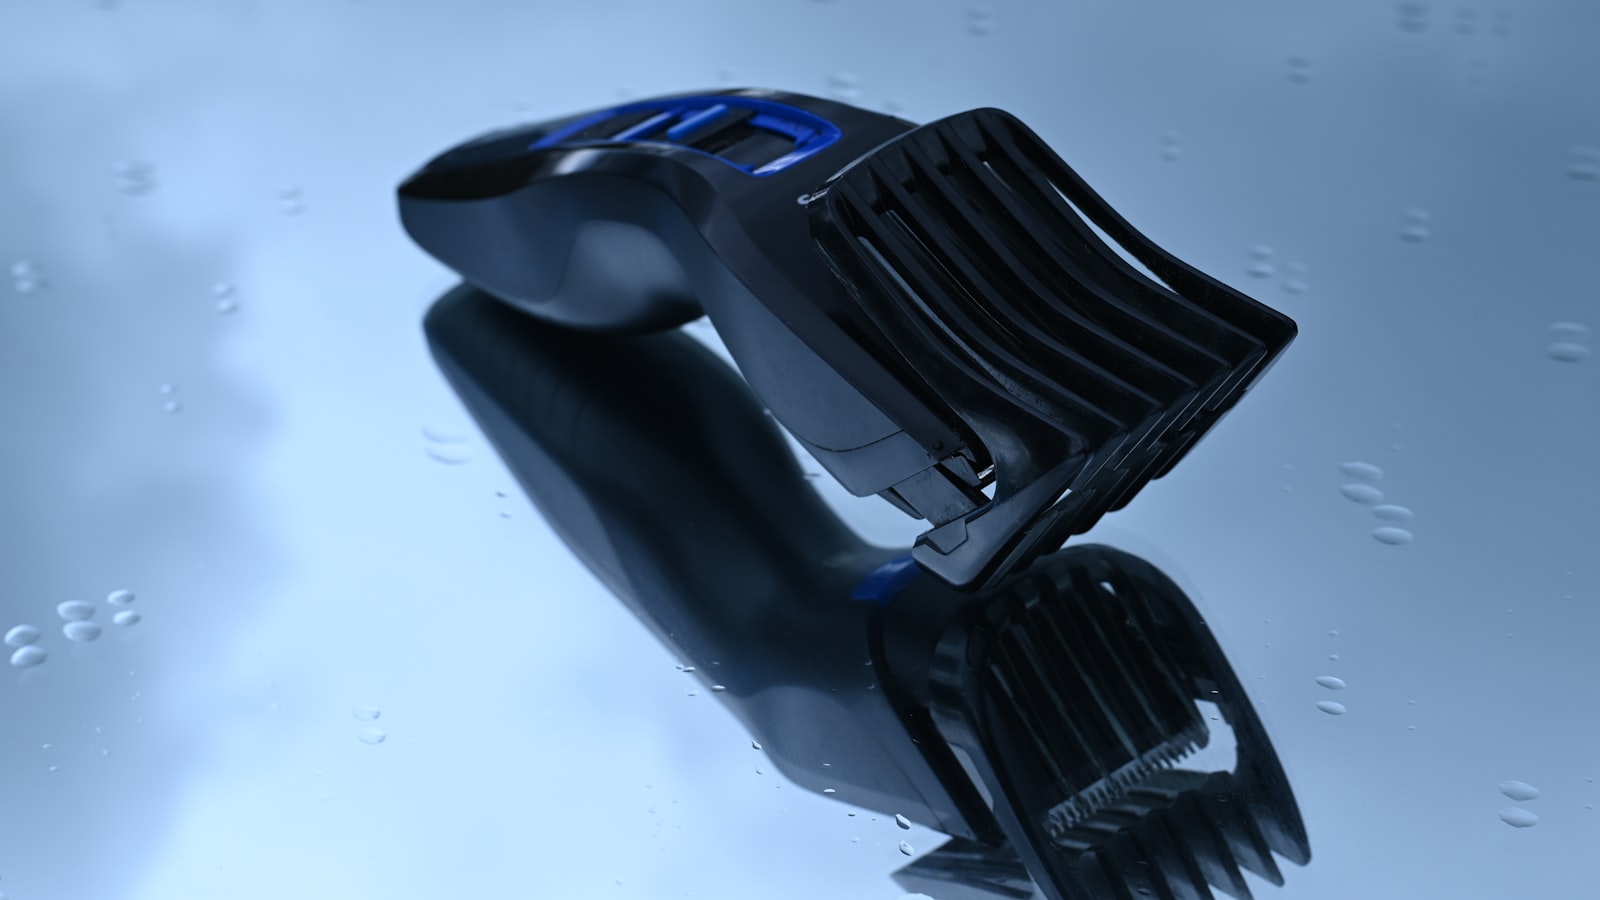
Photo by Andres Siimon on Unsplash
Disclosure: Some links below are affiliate links. If you buy through them we may earn a small commission at no extra cost to you. This never affects our recommendations.
Key Takeaways
Clipper blade tension adjustment isn’t about turning screws—it’s about fixing the mechanical cause behind pulling, uneven cuts, or lines. Before you adjust anything, run the 30-second hand test: drag, gap, and sound will tell you whether tension (blade pressure) or alignment (blade overlap) is the real problem. Get this wrong, and you’ll make it worse.
Most at-home fixes fail because they ignore motor load: too much tension stalls the motor, too little lets blades chatter. The correct tension for your clipper isn’t a guess—it’s in the service manual. No manual? This guide shows you how to dial it in by feel and when to walk away.
Part of our complete guide: for the full picture, see Hair Clippers #6 Guard: What It Actually Does & How to Use It.
How to Tell If Your Clipper’s Tension Is Wrong (30-Second Hand Test)
Before you touch a single screw, run the 30-second hand test. Tension isn’t about how many turns the adjustment wheel takes—it’s about how the blades behave. Here’s how to diagnose it without a manual, a gauge, or guesswork.
The Drag Test: What Your Fingers Feel
Slide the moving blade back and forth by hand. It should glide with slight resistance, like a well-oiled drawer—firm enough to stay put when you let go, but not so stiff it fights you. If it’s stiff as a rusted hinge, the tension’s too tight. If it wobbles like a loose tooth, it’s too loose. The sweet spot is the moment before it binds, not the moment after.
The Gap Test: What the Light Reveals
Hold the clipper up to a bright light and look between the blades. No daylight should peek through—if you see a sliver, the tension’s too loose (or the alignment’s off). A gap lets hair slip through uncut, leaving those telltale lines in the fade. But here’s the catch: if the blades are touching edge-to-edge, the tension’s too tight, and the motor’s working overtime to push them.
The Sound Test: What the Motor Tells You
Turn the clipper on and listen. A high-pitched whine means the blades are clamped too tight—the motor’s straining to move them. A rattling chatter means they’re too loose, clapping together like castanets. The right tension sounds like a steady hum, not a scream or a drumroll.
The Cut Test: What Your Hair Shows
Pulling hair or leaving uneven lines? Tension’s the likely culprit. Snagging or skipping? That’s alignment (we cover that here). Tension problems show up as consistent issues—every pass pulls, every pass leaves lines. Alignment problems are random: one spot snags, the next cuts clean.
Why This Matters
Adjusting tension without testing first is like turning a wrench in the dark. You’ll fix one problem and create another—blades that cut but overheat, or blades that run cool but leave tracks. The hand test takes 30 seconds and tells you exactly what to adjust. Skip it, and you’re just guessing.
Tension vs Alignment: Which Problem Do You Actually Have?
Blade tension and blade alignment are two separate mechanical issues, but they produce similar symptoms—pulling, uneven cuts, or lines in the hair. The difference is in what’s actually broken: tension controls how hard the blades press together, while alignment controls how they overlap. Adjusting the wrong one won’t just fail to fix the problem—it can make it worse.
The Core Difference
Tension is about pressure. Too tight, and the motor struggles, stalls, or overheats. Too loose, and the blades chatter, leaving lines or skipping hair. Alignment, on the other hand, is about precision. If the blades aren’t perfectly overlapped, they’ll snag, skip, or cut unevenly—regardless of how tight they are.
The trap? Tightening tension to compensate for misalignment (or loosening it to fix snags) forces the motor to work harder, wears the blades faster, and can strip the tension screw. Always diagnose first.
How to Spot Alignment Issues
Run your finger lightly along the blade edge. If it feels uneven, catches, or skips, the problem is alignment, not tension. Alignment fixes require adjusting the blade position itself—often by loosening screws, realigning the cutting teeth, and retightening. (We cover this in detail in our blade alignment guide.)
When to Walk Away
If the blades are bent, warped, or the tension screw is stripped, no adjustment will fix it. Bent blades can’t be realigned at home, and a stripped screw means the tension mechanism is broken. In either case, it’s time to replace the blades or the clipper head entirely.
The Bottom Line
Tension and alignment are related but not interchangeable. Tension = pressure. Alignment = overlap. Fixing one won’t fix the other—and forcing the wrong adjustment can damage your clippers. Start with the 30-second hand test: if the blades drag or chatter, check tension. If they snag or cut unevenly, check alignment. If the blades are bent or the screw won’t hold, replace them.
How to Adjust Clipper Blade Tension (Step-by-Step, No Specs Needed)

Photo by Hai Phung on Unsplash
Tension adjustment isn’t about chasing a number—it’s about fixing the behavior of the blades. Here’s how to dial it in by feel, not by a manual.
Step 1: Clean and oil first
Dirt and dried oil mimic tension problems. Before you touch the screw, clean the blades and apply a drop of oil to the cutting teeth. Run the clipper for 5 seconds to distribute it—this removes drag that could fool your adjustment.
Step 2: Reset the tension
Loosen the tension screw 1–2 full turns until the blades sit with a visible gap. This clears any old tension and gives you a neutral starting point. If your clipper has a locknut, loosen it first, then back off the screw.
Step 3: Find the zero point
Tighten the screw until the blades just touch—no gap, no daylight. You’ll feel a faint resistance when you slide the blades side to side. This is your baseline, not the final tension. If you overtighten here, you’ll skip the next step and end up with blades that bind.
Step 4: Dial in the resistance
Add 1/8 turn at a time and test after each adjustment:
- Drag test: Slide the blades side to side by hand. They should move smoothly with slight resistance—like a well-oiled drawer.
- Sound test: Listen for a steady hum, not a chatter or a grind. Chatter means too loose; a strained whine means too tight.
- Cut test: Run the clipper over a scrap of hair (or a piece of paper). It should shear cleanly, not pull or skip.
Stop when the blades move freely but don’t rattle.
Step 5: The motor load test
Run the clipper for 10 seconds on a full charge (or plugged in). Watch for two red flags:
- Stalling or straining: The motor slows or sounds labored. Loosen the screw by 1/8 turn.
- Chattering: A rapid, uneven vibration. Tighten by 1/8 turn.
Repeat until the clipper runs smoothly under load.
Step 6: Lock it down
If your clipper has a locknut, tighten it against the tension screw to prevent vibration from loosening it mid-cut. No locknut? Check the screw after every few cuts—some models creep.
The real-world rule
If the clipper cuts smoothly without pulling, stalling, or leaving lines, the tension is correct—regardless of what the manual says. Tension specs vary by model, blade type, and even hair thickness. The motor’s behavior is the only spec that matters. For advanced users, a blade tension gauge can help dial in consistency, but it’s not required.
Pro tip: If the blades still misbehave after adjustment, revisit alignment—tension and alignment are siblings, not twins.
Where to Find Your Clipper’s Correct Tension (And What to Do If You Can’t)
The only place tension specs live is the service manual for your exact model—and those numbers vary by motor type, blade material, and even the year the clipper was made. No universal “correct” setting exists. If you adjust to a figure you found online, you’re guessing at best and risking motor damage at worst.
How to find the manual
Search [your clipper model] + service manual PDF in your browser. Most manufacturers host manuals on their support sites—Wahl, Andis, and Oster all keep archives. If the search turns up nothing, check third-party repair sites like eReplacementParts. The manual’s tension spec will be listed under “blade adjustment” or “motor load settings.”
What to do if the manual is missing
When the spec isn’t published, pros fall back to the motor load test (Step 5 in the adjustment guide above). Turn the clipper on and listen for a steady hum—no grinding, no high-pitched whine. If the motor labors or stalls, the tension is too tight. If the blades chatter or skip hair, it’s too loose. Dial the screw in quarter-turn increments until the sound smooths out and the cut is even across the blade’s width.
When to stop adjusting and call a shop
If the tension screw spins freely without resistance, it’s stripped. If the blades are visibly bent or the motor stalls at any setting, the issue isn’t tension—it’s alignment or a failing motor. Over-tightening can also void the warranty, so check the terms before turning any screws. Most manufacturers exclude “improper adjustment” from coverage, and that exclusion is buried in the warranty document, not the box. If your clipper is still under warranty, take it to an authorized repair center instead of risking a denied claim.
The Clipper Tension Decision Table: What’s Wrong and What to Do Next
Photo by Andrea Donato on Unsplash
This table cuts through the guesswork—no specs, no model numbers, just the mechanical cause behind each symptom and the exact check that rules it in or out. Match what your clipper does to the first column, then follow the row to the fix.
| Symptom | Mechanical Cause | What to Check First | What Rules It Out |
|---|---|---|---|
| Pulling hair | Too loose (blades chatter) | Drag test: blades wobble side-to-side | Alignment: uneven edge catches hair |
| Leaving lines | Too loose or misaligned | Gap test: daylight between blades? | Blade sharpness (see blade sharpening guide) |
| Stalling motor | Too tight (motor strain) | Sound test: high-pitched whine? | Battery/power (see battery diagnostics) |
| Overheating | Too tight or dirty | Motor load test: stalls under load? | Oiling (see clipper maintenance) |
| Rattling noise | Too loose or worn parts | Sound test: metallic chatter? | Bearings (see motor and bearing checks) |
| Uneven cut | Misalignment (not tension) | Finger test: catches on one side? | Tension: drag test confirms blades move freely |
How to use it: Start with the symptom that’s bothering you, run the check in the third column, and let the result point you to the next step. If the check doesn’t match the symptom, the fourth column tells you what else to test—no dead ends, no wasted adjustments. This is the same flow a pro mechanic follows, distilled into a single page.
Frequently Asked Questions About Clipper Blade Tension
For clipper blade tension adjustment, there are several common questions that arise. Here, we’ll address some of the most frequently asked questions to help you better understand how to diagnose and adjust your clipper’s tension.
What’s the correct tension for my clippers?
The correct tension for your clippers can be found in the service manual for your specific model. This is because tension specs vary by motor type, blade material, and even the year the clipper was made. There’s no universal “correct” setting, so it’s essential to consult your manual for the precise figure.
Why do my clipper blades keep loosening mid-cut?
If your clipper blades keep loosening during use, it may be due to incorrect tension adjustment. When the tension is too loose, the blades can vibrate excessively, causing them to loosen over time. To fix this, try adjusting the tension screw to the recommended setting, and then check the blades after a few cuts to ensure they’re not loosening.
Can I adjust tension without a screwdriver?
While it’s possible to adjust tension without a screwdriver, it’s not recommended. Using the correct tool ensures that you’re making precise adjustments, which is crucial for maintaining optimal blade performance. If you don’t have a screwdriver, consider purchasing one or consulting a professional for assistance.
Does blade tension affect battery life?
Blade tension can indirectly affect battery life. If the tension is too tight, it can cause the motor to work harder, leading to increased battery drain. Conversely, if the tension is too loose, the blades may vibrate excessively, also causing the motor to work harder. Properly adjusting the blade tension can help optimize battery life.
How do I know if my clipper’s motor is damaged from wrong tension?
If your clipper’s motor is damaged due to incorrect tension, you may notice symptoms such as overheating, reduced cutting performance, or unusual noises. To diagnose motor damage, perform a simple test: run the clippers without a blade and listen for any unusual sounds. If you suspect motor damage, consult a professional for repair or replacement.
Should I tighten or loosen tension for thick hair?
For thick hair, it’s generally recommended to tighten the blade tension slightly. However, be cautious not to over-tighten, as this can cause the blades to bind or the motor to overheat. A good rule of thumb is to start with the recommended tension setting and then adjust in small increments until you find the optimal setting for your specific hair type.
By following these guidelines and consulting your service manual, you’ll be able to diagnose and adjust your clipper’s tension with confidence. Remember to always prioritize proper maintenance and adjustment to ensure optimal performance and extend the life of your clippers.
Final Thoughts: When to Adjust Tension and When to Walk Away
Clipper blade tension adjustment isn’t a spec-based chore—it’s a diagnostic process. Start with the 30-second hand test before you touch the screw. If the blades pull, stall, or leave lines, tension might be the culprit—but alignment could be the real issue. Don’t conflate the two. Bent blades or a motor that stalls at any tension mean it’s time to visit a repair shop. The correct tension for your clipper lives in its service manual, but the motor load test is the pro’s fallback: trust the machine’s feedback, not a random number.
If the blades move smoothly under light pressure and the motor hums without strain, you’re in the right range. If not, step back and check our clipper alignment guide, motor troubleshooting, or blade sharpening before forcing an adjustment that could make things worse. The goal isn’t perfection—it’s a clipper that cuts without fighting you.
Keep reading
Keep exploring the topic with these related guides: