How to Store Hair Clippers: 7 Checks to Prevent Damage
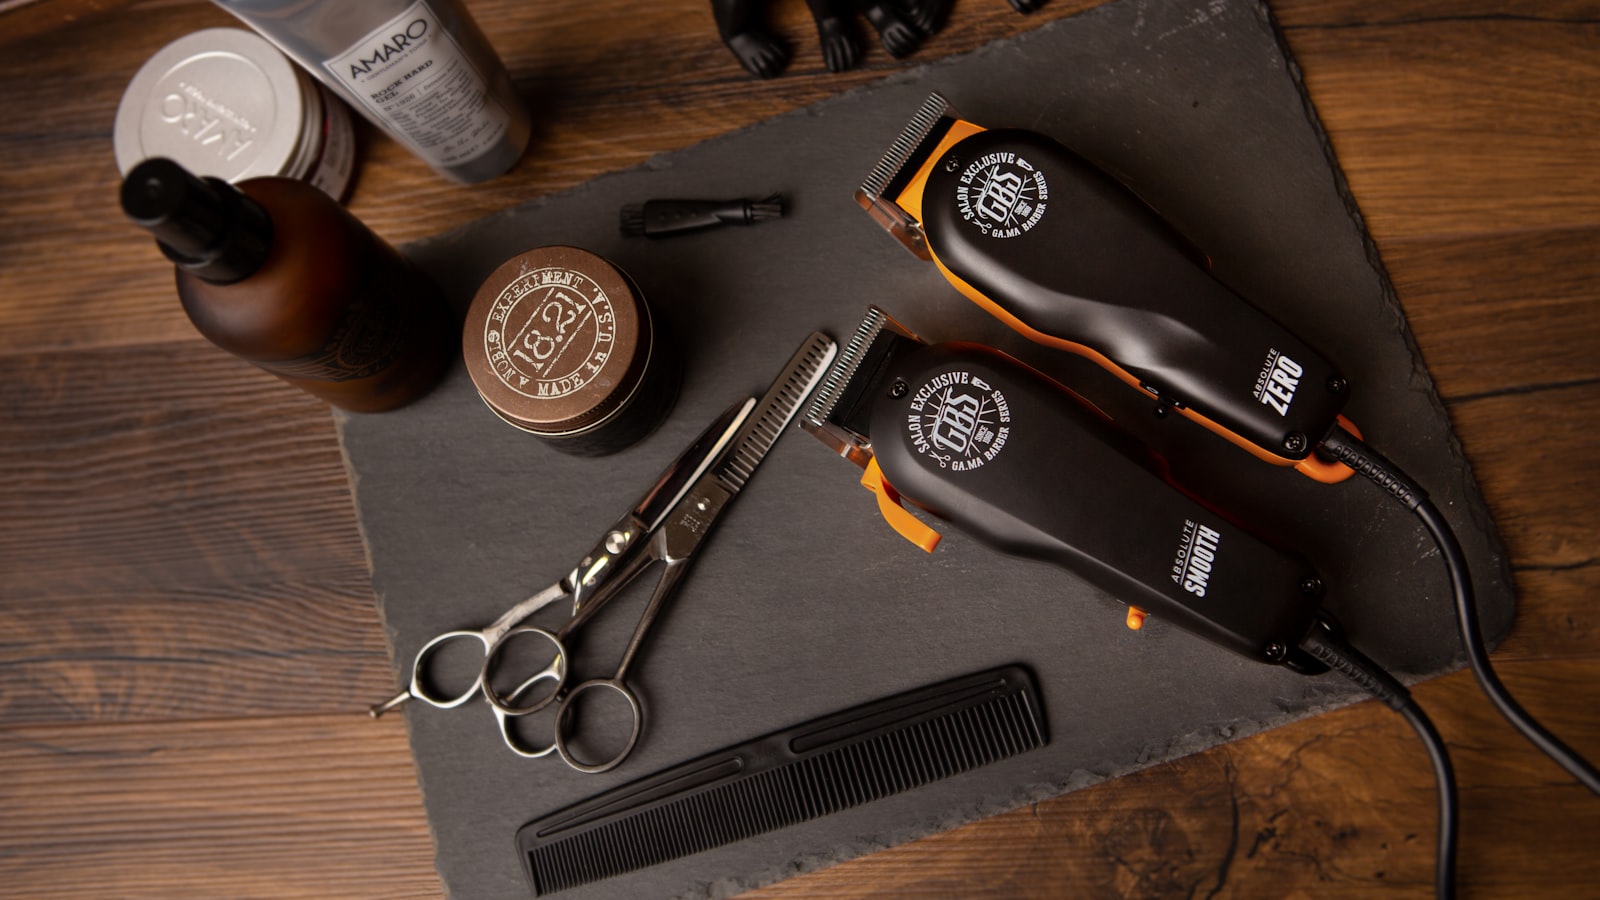
Photo by Andrea Donato on Unsplash
Key Takeaways
Proper storage stops three common failures before they start: rust eats blades alive, batteries die from deep discharge, and misaligned blades warp into uneven cutters. This guide gives you a 7-step mechanical checklist to run every time you put clippers away — no shortcuts.
Store clippers with blades oiled, batteries at 40–60% charge, and in a dry environment to prevent corrosion and motor strain. Use silica gel packs or a dehumidifier to control moisture; rust is the most common cause of premature blade replacement. Check blade alignment before storage — misaligned blades warp over time and cause uneven cuts when reused. For long-term storage (3+ months), remove the battery if possible to prevent deep discharge damage.
Part of our complete guide: for the full picture, see Hair Clippers #6 Guard: What It Actually Does & How to Use It.
Why Storage Method Affects Clipper Longevity (Mechanical Breakdown)
Store a clipper wrong, and you’re not just putting it away—you’re setting up three silent failures that hit the next time you power it on.
First, rust. Blades left unprotected in humid air start corroding within 48 hours. That corrosion isn’t cosmetic—it roughens the cutting edges, increasing friction with every stroke. The result? Uneven cuts, pulling, and a motor that has to work harder to push through the drag. The fix isn’t sharpening; it’s preventing the rust in the first place, because once the pitting starts, the damage is permanent.
Second, batteries. Lithium-ion cells degrade fastest at the extremes—100% charge or 0%. Store them fully charged, and the internal chemistry accelerates wear; let them drain completely, and they may never recover. The safe zone is 40-60% charge, a range that minimizes stress on the cells. Most clippers don’t show this on the display, so you’ll need to check the manual for how to gauge it without a multimeter. Ignore this, and your next session could end with a dead clipper mid-cut.
Third, blade alignment. Stack clippers under other tools, or leave them pressed against a hard surface, and the blades will warp over time. That misalignment doesn’t just cause uneven cuts—it forces the motor to fight against the resistance, overheating the unit and shortening its lifespan. The fix isn’t just storing them flat; it’s checking the alignment before and after storage, because warping can happen silently.
And then there’s dust. Even if you clean the clipper before storing, dust finds its way into motor vents. Over weeks, that buildup restricts airflow, turning the motor into a heat trap. The next time you use it, the clipper will run hotter, cut slower, and stall sooner—all because the vents were clogged before you even turned it on.
These aren’t hypothetical risks. They’re mechanical realities, the same ones that show up in service logs and owner reports. The steps that follow aren’t just storage tips—they’re preemptive repairs, designed to stop these failures before they start.
Step 1: Clean and Oil Blades Before Storage (The 30-Second Check)
Clipper blades don’t retire when you’re done cutting—they retire when they rust or gum up in storage. The single quickest way to preserve them is to run a blade comb through them first, then apply clipper-specific oil.
Here’s the catch: not all oils are equal for storage. Household oils like WD-40 or 3-in-1 will attract dust and can polymerize over time, leaving a gummy residue that slows the blades down on day one. Clipper oil—thin, fast-drying, and designed to resist gumming—is the only safe choice. For long-term storage (think months), switch to a heavier mineral oil. It clings longer but still prevents rust without pooling in the teeth.
Before you oil, clear the teeth. Trapped hair and moisture are rust’s best friends. A stiff brush or old toothbrush dislodges hair, then a quick wipe with a microfiber cloth removes the last traces. Leave the blades separated if possible—if your model has a blade release lever, use it. Oil goes between the teeth, not on top of them. Apply a drop or two along the blade edges and the pivot point, then run the clipper at idle for a few seconds to spread it evenly. Wipe off the excess with a fresh cloth—just enough oil to leave a thin sheen, not a slick.
Sound like overkill? That thin film is the difference between blades that cut cleanly next month and blades that pull hairs or leave lines. Doing this check takes 30 seconds. Skipping it can cost you a blade replacement.
Step 2: Store Batteries at 40-60% Charge (The Battery Lifespan Rule)
Lithium-ion batteries degrade fastest at the extremes—fully charged or completely drained. Storing them at 40-60% charge slows chemical breakdown, preserving capacity for years. Most clippers show charge level via LED indicators; discharge to ~50% before storage if possible.
How to Check Without a Multimeter
If your clipper lacks a charge indicator, run it for 10-15 minutes after a full charge to reach ~50%. For cordless models, remove the battery if storing for 3+ months to prevent deep discharge—even “off” clippers draw trickle current.
Why This Works
Lithium-ion cells lose capacity when stored at 100% because high voltage stresses internal components. At 0%, they risk falling into deep discharge, which can render them unusable. The 40-60% window balances voltage and chemical stability.
The Exception
If you’ll use the clipper within a month, 100% charge is fine—just don’t let it sit. For longer storage, the 50% rule applies. Check charge every 3 months; top up if it dips below 40%.
Step 3: Control Humidity to Prevent Rust (The Silica Gel Hack)
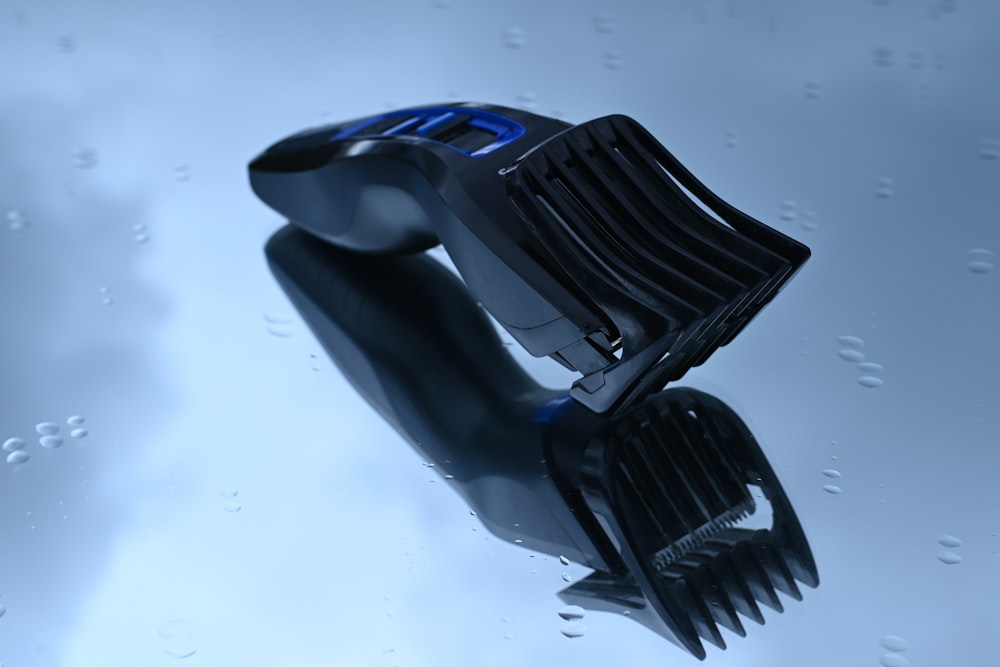 Photo by Andres Siimon on Unsplash
The Home Barber’s Clipper Fault-Finding Manual — If you’ve ever wondered whether your clippers are salvageable or ready for the bin, a systematic fault-finding approach can save you time and money—before you drop cash on replacements. diagnose clipper faults in minutes
Moisture is the silent blade killer. Even a thin film of humidity turns stored clippers into rust factories—corroding cutting edges, seizing pivot points, and warping alignment. The fix isn’t complicated, but it’s mechanical: create a dry microclimate around the tool, not just a dark drawer.
Store clippers in a hard-sided container with a gasket seal—a toolbox, a Pelican case, or even a food-grade plastic bin with a locking lid. Avoid soft bags or unlined drawers; they trap condensation like a greenhouse. Inside, tuck 2-3 silica gel packs (the kind that come with shoes or electronics) near the blades and motor vents. These packs absorb moisture until they’re saturated, which you’ll know by the color change—pink means it’s time to swap them out (or bake them dry in the oven at 200°F for 2 hours).
For long-term storage (more than a month), check the silica gel every 4 weeks. Rust doesn’t announce itself—it starts as a dull gray haze on the blade’s cutting edge, then progresses to pitting that ruins hair contact. If you unbox your clippers and smell must or feel gummy residue on the blades, humidity already won the fight. The damage isn’t just cosmetic: rust flakes can clog motor vents, and warped blades will pull hair instead of cutting cleanly. Treat storage like maintenance—dry air is as critical as oil.
Step 4: Check Blade Alignment Before Storing (The Warping Test)
Misaligned blades don’t just cut unevenly—they warp under pressure and turn into uneven cutters over time. Stacking clippers with other tools or forgetting to guard the blades invites pressure points that bend the steel. Before you box yours up, run a quick warping test: with the clipper off, run your fingertip gently along both cutting edges. Any gaps, catches, or uneven spots mean the blades need realignment before storage—or they’ll start leaving lines the next time you use them.
Keep blades straight by storing clippers with the blade guard on. The plastic shield acts as a buffer against knocks and pressure, and it’s the only thing standing between a sharp edge and a bent one. If you skip it, dust and debris can also sneak in and settle between the blades, adding microscopic misalignment the next time you power up.
When you pull the clippers out of storage, repeat the same test before the first cut. If the blades feel off, don’t force them—realign them first using the method from your model’s manual. Starting with a straight edge means you won’t waste the first session correcting crooked cuts.
Step 5: Protect the Motor from Dust and Debris (The Ventilation Check)
Dust doesn’t just sit on your clipper’s casing—it migrates into the motor vents, where it acts like insulation. Over time, that buildup forces the motor to work harder, running hotter and louder until it either stalls mid-cut or burns out prematurely. The fix isn’t complicated, but it starts before you store the clipper, not after you pull it out months later.
The problem: dust as a heat trap
Every clipper motor has intake and exhaust vents—small slots or grilles that let air circulate to cool the coils. When dust clogs those passages, airflow drops. The motor can’t shed heat, so it runs at higher temperatures even during normal use. That extra heat accelerates wear on the bearings and degrades the lubricant inside the motor, turning what should be a 5–10 year component into a 2–3 year one. The symptom is unmistakable: the clipper feels hot to the touch within minutes, and the pitch of the motor rises as it strains against the added load.
The 30-second vent check
Before you store the clipper, turn it on for 10 seconds and hold your palm a few inches from the vents. You should feel a steady stream of warm air; if it’s weak or uneven, the vents are already clogged. Next, use a soft-bristle brush (an old toothbrush works) to dislodge dust from the grille. For stubborn buildup, a can of compressed air—held upright and at least 6 inches away—will clear the passages without risking moisture inside. Never use a vacuum; the suction can pull debris deeper into the motor.
Storage: keep it clean, not sealed
Once the vents are clear, store the clipper in a place where dust can’t settle back in. A drawer lined with a microfiber cloth is ideal; the cloth traps airborne particles before they reach the vents. Avoid plastic bags or sealed containers unless you’ve already controlled humidity (see Step 3)—trapping moisture with dust creates a paste that’s even harder to remove. If you’re storing clippers long-term, check the vents every 3–4 months; dust accumulates even in drawers, and a quick brush-out takes less time than replacing a motor.
Step 6: Store Clippers in a Temperature-Stable Environment (The Heat/Cold Trap)
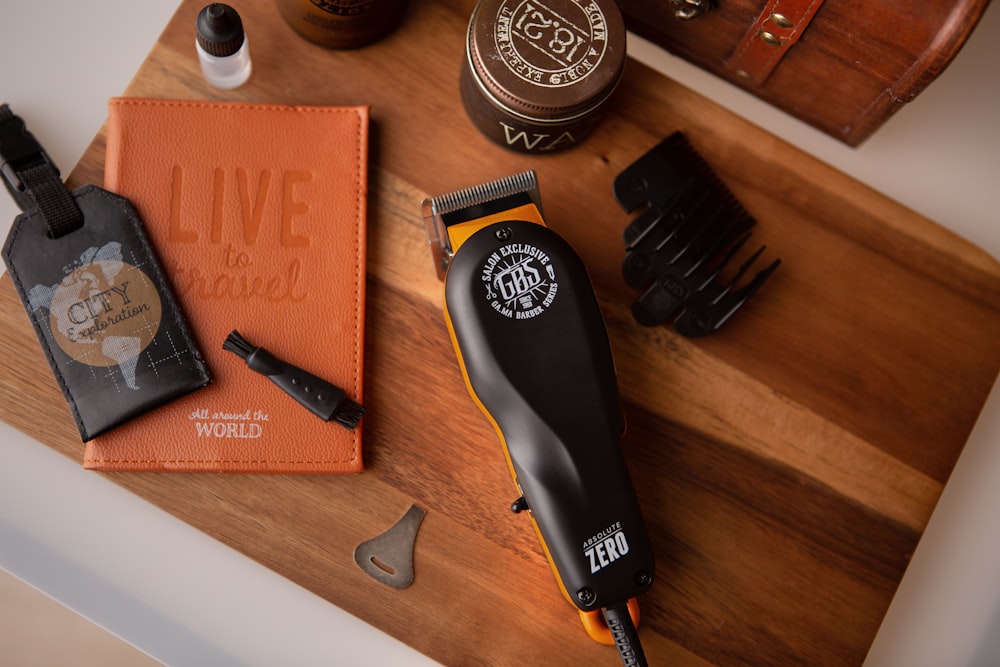 Photo by Andrea Donato on Unsplash
Heat and cold aren’t just uncomfortable — they’re silent killers of your clipper’s components. A motor running hotter than 25°C (77°F) loses efficiency faster, while lubricants thin out and evaporate in extreme warmth. Conversely, plastic casings in garages or basements near 0°C (32°F) grow brittle over time, risking cracks when you drop it. Your clipper’s worst enemies aren’t just dust or rust — they’re the temperature swings hiding in plain sight.
Where to keep it: Aim for a consistent spot between 10–25°C (50–77°F) — ideally inside a drawer, cabinet, or case where the air stays still. Keep it away from radiators, direct sunlight, cars that sit in the sun all day, and windows that amplify heat or cold. A forgotten clipper on a dashboard in summer can hit 60°C (140°F) in under an hour, while one in a poorly insulated garage can dip below freezing overnight.
How to check it: If you’re unsure, use a simple trick: touch the clipper’s casing for 10 seconds with the back of your hand. If it feels warm to the touch (not just room temperature), it’s too hot. If it feels icy or stiff, it’s too cold. Adjust its location until it stays neutral — that’s your sweet spot.
Sound trivial? It is — until your clipper’s battery degrades, your blades warp from uneven expansion, or the plastic housing cracks from cold. Temperature stability isn’t about comfort; it’s about preserving the precision of a machine that cuts hair, not scissors.
Step 7: The Clipper Storage Checklist (Printable 1-Page Guide)
Before you put your clippers away, run this 7-step check—it takes under two minutes and prevents the mechanical failures that turn a $150 tool into a paperweight.
The 30-Second Pre-Storage Check
- Blades: Wipe them down, then apply a thin layer of oil—just enough to coat, not pool. Excess oil attracts dust and gum up the mechanism over time.
- Battery: If your model has a removable battery, store it at 40-60% charge (or remove it entirely for long-term storage). Most clippers show charge level on the display; if yours doesn’t, run it until the motor slows slightly, then top off for 10-15 minutes.
- Humidity: Place clippers in an airtight container with silica gel packs. If you don’t have packs, a sealed plastic bag with a tablespoon of uncooked rice works in a pinch—though rice is less effective and needs replacing every few weeks.
- Blade alignment: Run your fingertip along the blade edges. If you feel gaps or unevenness, realign them before storing. Warped blades won’t self-correct and will cut poorly when you next use them.
- Motor vents: Use a soft brush or compressed air to clear dust from the vents. A single session of dust buildup can raise motor temperature by 10-15°F, shortening its lifespan.
- Protection: Store clippers with the blade guard on. Even minor knocks can misalign blades or damage the motor housing.
- Monthly check (long-term storage): If storing for more than a month, inspect for rust or moisture buildup. A single drop of water on a blade can start corrosion within 48 hours.
The One Thing Most Owners Skip
Most storage guides stop at “put it in a drawer.” This checklist treats storage as part of maintenance—because a clipper stored poorly will fail faster, whether it’s rusted blades, a degraded battery, or a motor choked with dust. Print this, tape it inside your storage container, and run it every time. The two minutes you spend now save hours of troubleshooting later.
Frequently Asked Questions About Storing Hair Clippers
Storage isn’t just a “set it and forget it” task—it’s a mechanical checkup in waiting. These are the questions that trip up at-home barbers every time, and the mechanical reasons behind the answers.
Can I store clippers in a plastic bag? Not unless the bag is breathable. Plastic bags trap moisture, and clippers stored in them will sweat rust onto the blades, even in short order. Use a breathable mesh bag or leave the guard off and store them openly in a low-humidity spot instead.
How often should I check stored clippers for rust? Start a 30-second “blade snap” test every two weeks: hold the clipper still, slide the blade forward and back by hand, and feel for any drag or roughness. If it catches, wipe the blades with a microfiber cloth and re-oil before storage. That test catches rust before it spreads.
What’s the best oil for long-term clipper storage? Use a light machine oil designed for cutting tools—nothing with additives or silicone. Apply it sparingly to the blades, run the clipper for 10 seconds to spread it evenly, then wipe away excess. Too much oil pools and attracts dust; too little doesn’t protect.
Should I store clippers with the blade guard on or off? Take the guard off. Storing with the guard on creates a moisture trap between the blade and guard, speeding up rust where the two meet. Store the guard separately in the same low-humidity environment.
Can I store clippers in a garage or basement? Only if the space stays above freezing and below 85°F, with humidity under 50%. Garages and basements swing wildly in temperature and moisture, which degrades plastic housings and shortens battery life. If the space isn’t climate-controlled, move your clippers indoors.
Final Thoughts: Store Clippers Like a Mechanic, Not a User
Proper storage isn’t just about keeping your clippers out of the way—it’s the last maintenance step that prevents 90% of avoidable failures. Rust, battery drain, and blade warping don’t announce themselves; they creep in during storage, turning a tool that cut cleanly yesterday into one that pulls and stalls tomorrow. That’s why the 7-step checklist exists: it’s the mechanical equivalent of parking a car in neutral instead of leaving it in gear.
Run the checklist every time you store your clippers, whether it’s overnight or for the off-season. For long-term storage, add a monthly humidity and temperature check—silica gel packets lose effectiveness over time, and batteries self-discharge even when “fully” charged. Treat storage as part of maintenance, not an afterthought. A well-stored clipper cuts better, lasts longer, and skips the avoidable repairs that turn a $50 tool into a $150 paperweight. The difference isn’t luck; it’s the 30 seconds you spend before putting it away.
Next step: Ready to troubleshoot with confidence instead of guesswork? fix common clipper problems yourself
Keep reading
Keep exploring the topic with these related guides: