Fix Hair Clipper Won't Hold Charge: 6 Expert Solutions
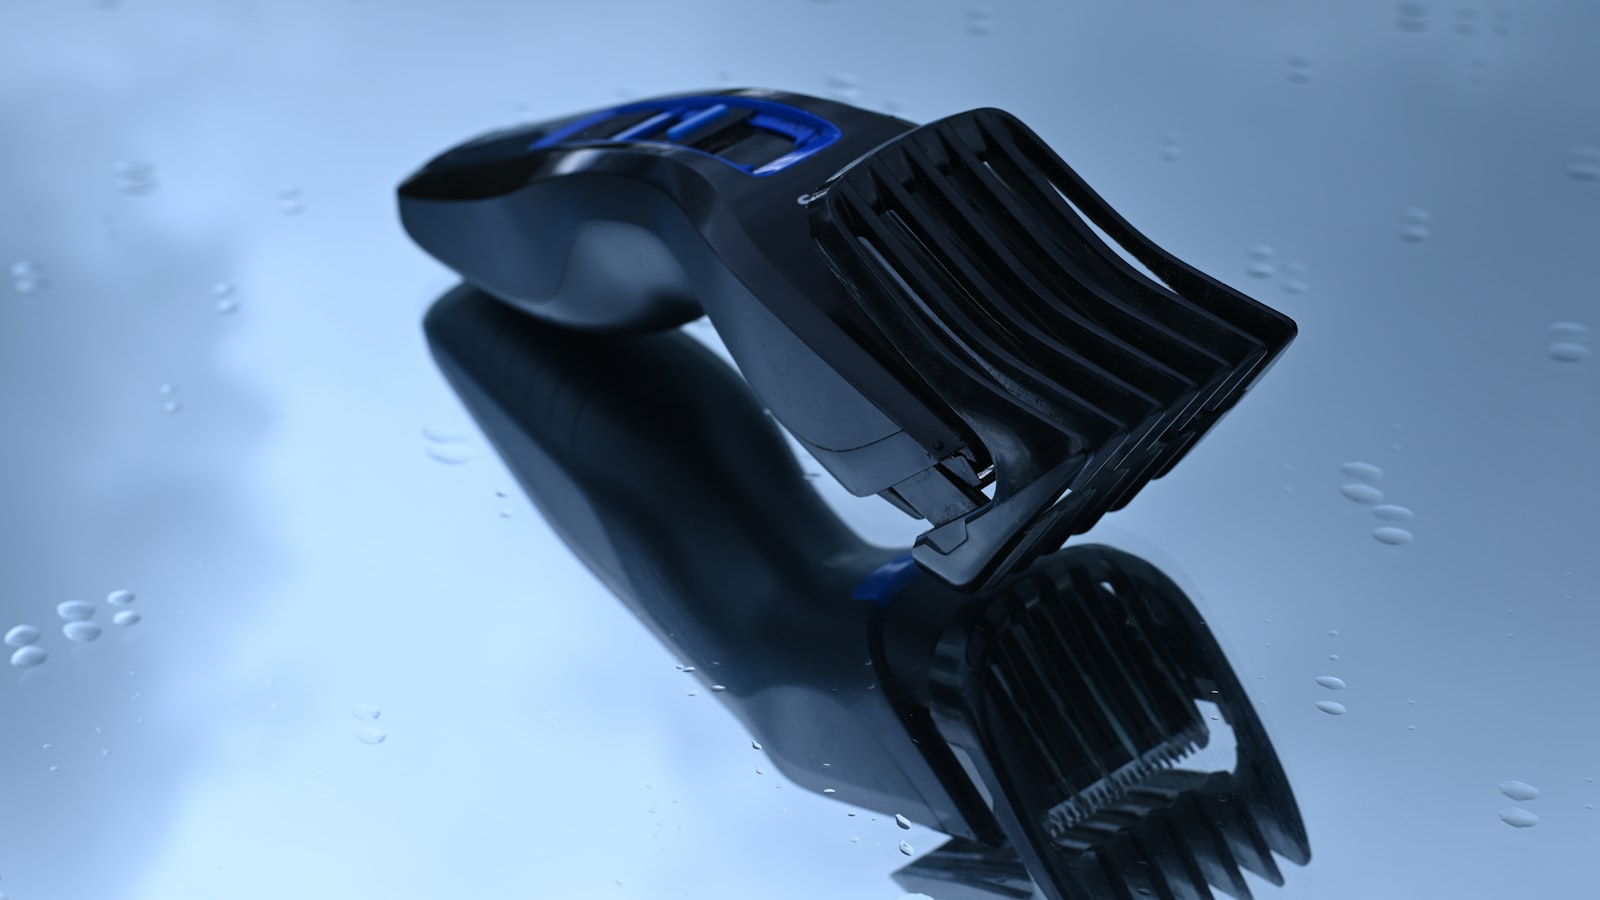
Photo by Andres Siimon on Unsplash
Disclosure: Some links below are affiliate links. If you buy through them we may earn a small commission at no extra cost to you. This never affects our recommendations.
Those links point to a product category on Amazon, not to one named model: we cannot verify a single unit’s current price, stock or revision for you, so we send you to the shelf rather than to a guess.
Key Takeaways
If your hair clipper won’t hold charge, try cleaning the charging port and battery contacts. Check for faulty batteries or charging cables, and consider replacing the battery or charging system based on manufacturer specifications.
Part of our complete guide: for the full picture, see Hair Clippers #6 Guard: What It Actually Does & How to Use It.
Understanding Hair Clipper Charging Systems
Hair clippers charge through various systems, including wall adapters and USB charging. The type of battery used in a hair clipper — Ni-Cd, Ni-MH, or Li-ion — affects its charging performance.
The Ni-Cd battery, although outdated, is still found in some older models. It has a relatively low energy density of around 45-60 Wh/kg, which means it doesn’t hold as much charge as newer battery types. In contrast, Ni-MH batteries offer improved energy density, typically in the range of 60-80 Wh/kg, making them a more efficient choice. However, they can be prone to memory effects, which may reduce their overall performance over time.
Battery Comparison
- Li-ion batteries are the most common type used in modern hair clippers. They offer high performance, long battery life, and are relatively maintenance-free.
- Ni-MH batteries are still used in some hair clippers, particularly those with lower voltage requirements.
- Ni-Cd batteries are largely phased out due to their low energy density and environmental concerns.
Li-ion packs have largely replaced Ni-Cd and Ni-MH in cordless clippers because they hold voltage more steadily through a cut and tolerate partial charging. Capacity and runtime differ from model to model: the figures for yours are marked on the battery or listed in that clipper’s own documentation, and two machines that look alike can ship very different packs.
Charging Issues
Common charging issues with hair clippers include overcharging, undercharging, and battery drain. Overcharging can reduce the battery’s lifespan, while undercharging may lead to poor performance. Battery drain can result from faulty charging cables or improper battery maintenance.
To avoid these issues, follow the manufacturer’s charging instructions. Charge for the time your own clipper’s manual gives before first use, and unplug the charger once it is done.
Understanding the charging system and battery type of your hair clipper is crucial for maintaining its performance and extending its lifespan. By selecting the right battery type and adhering to proper charging and maintenance practices, you can ensure optimal functionality.
Troubleshooting Hair Clipper Charging Problems
Photo by mostafa meraji on Unsplash
If your hair clipper won’t hold charge, start by inspecting the charging port and cable for damage or corrosion. A faulty charging port or cable can prevent proper charging.
To diagnose the issue, follow these steps:
- Inspect the charging port: Look for signs of damage, corrosion, or debris blocking the connection.
- Check the cable: Ensure the charging cable is securely connected to both the clipper and the power source.
- Verify the battery connection: Confirm the battery is properly seated and connected to the clipper.
A failing cell or a damaged charging circuit is the usual cause of charging problems. In such cases, resetting the clipper or replacing the battery may resolve the problem. Some lithium packs need a reset after a deep discharge before they will take a charge again; the procedure, if your model has one, is in its manual.
Understanding Battery Types
Different battery types have distinct characteristics that influence their performance and charging requirements. Ni-Cd batteries, found in older models, have a lower energy density (45-60 Wh/kg). Li-ion batteries, on the other hand, offer a higher energy density (100-265 Wh/kg), making them more efficient and longer-lasting. Ni-MH batteries fall in between, with an energy density of around 60-120 Wh/kg.
When choosing a replacement battery, consider battery capacity (measured in mAh) and charging time based on manufacturer specifications. Charging times vary widely between packs, so work from the figure in your own clipper’s documentation rather than a general rule.
If troubleshooting steps don’t resolve the issue, consider replacing the battery or consulting the manufacturer’s guide. For most users, a Li-ion battery replacement is a reliable and efficient solution when matched to the clipper’s original specifications.
Cleaning and Maintaining Your Hair Clipper’s Charging System
To keep your hair clipper functioning optimally, clean the charging port and battery contacts regularly. Dirty contacts can disrupt charging and reduce battery life. If your clipper’s battery drains quickly or charges slowly, corrosion or debris may be the cause.
Use a soft brush or dry cloth to clean the charging port and contacts. Avoid harsh chemicals or abrasive materials, as they can damage the components. A soft-bristled toothbrush is gentle enough for the contacts.
Best Practices for Cleaning and Maintenance
- Unplug before cleaning: Always disconnect the charger from the clipper and power source.
- Gentle cleaning: Use a dry cloth or soft brush to avoid damaging fragile contacts.
- Regular maintenance: Clean contacts every 3 months to prevent corrosion.
- Proper storage: Keep the clipper in a dry place, away from extreme temperatures.
Some cordless models have removable batteries that can be cleaned separately. Follow the manufacturer’s instructions for battery-specific care. Li-ion packs can be wiped with a soft brush or cloth, and they lose capacity gradually with every charge cycle.
Clean the charging system monthly, or more frequently if the clipper is used heavily. If issues like slow charging or reduced battery life persist, increase cleaning frequency. Always refer to the user manual for model-specific instructions.
Replacing the Battery or Charging System
If your hair clipper won’t hold charge, replacing the battery or charging system may be necessary. A failed cell or a damaged charging circuit will stop a clipper holding charge whatever else you clean.
To replace the battery, follow these steps:
- Disconnect the power cord: Unplug the clipper to avoid accidental activation.
- Remove the battery compartment: Unscrew or unclip the compartment cover.
- Disconnect the battery: Carefully detach the connectors from the circuit board.
- Remove the old battery: Dispose of it according to local regulations.
- Install the new battery: Secure the replacement battery and reconnect it to the circuit board.
- Reassemble the clipper: Replace the compartment cover and secure it.
Choosing the Right Replacement Battery
When selecting a replacement battery, match the type (Ni-Cd, Ni-MH, or Li-ion) to your clipper’s requirements. Li-ion packs are usually preferred for their higher energy density and longer cycle life.
Battery capacity (measured in mAh) affects runtime. Select a replacement battery with a capacity that aligns with the original manufacturer’s specifications for optimal performance.
Precautions When Handling Electrical Components
- Avoid touching contacts: Skin oils can cause corrosion; use a soft brush or cloth for cleaning.
- Avoid harsh chemicals: They can damage electrical components.
- Follow instructions: Adhere to the manufacturer’s guidelines for safe handling.
Replacing the battery is typically straightforward, but if you’re uncomfortable with DIY repairs, consult a professional. With the right replacement and proper care, your clipper can regain optimal performance.
Preventing Future Charging Issues
To prevent future charging issues, proper storage is essential. Store your clipper in a dry, cool place, away from direct sunlight and moisture. Humidity can cause corrosion, damaging the charging system.
Avoid overcharging or undercharging the battery, as both can reduce its lifespan. Most hair clippers require 1-2 hours to charge fully; unplug them once charging is complete to prevent potential overheating.
Storage and Maintenance Tips
- Inspect regularly: Check the charging port and contacts for debris or corrosion.
- Clean gently: Use a soft brush or dry cloth to remove buildup.
- Follow manufacturer guidelines: your clipper’s own user manual gives the storage and maintenance instructions for that model.
Li-ion batteries are more resistant to corrosion and require less maintenance than Ni-Cd batteries. They also offer benefits like longer lifespan (up to 5 years with proper care), higher energy density, and lighter weight. However, they may require special charging procedures as outlined in the manufacturer’s guidelines.
By following these tips, you can prevent common issues such as:
- Corrosion in the charging system
- Reduced battery life
- Overheating or motor damage
- Poor cutting performance
Handle your clipper with care—avoid drops and extreme temperatures. With proper maintenance a well-built clipper lasts many years; what decides the number is the motor and the battery chemistry, not the badge on the case.
Conclusion and Final Thoughts
Your hair clipper’s charging system is vital to its performance. Proper maintenance and troubleshooting can extend its lifespan.
To prevent future issues, store your clipper in a dry place, away from moisture and direct sunlight. Avoid overcharging to preserve battery health by following the manufacturer’s recommended charging times.
A failed cell or a damaged charging circuit is the usual reason a clipper stops holding charge. When selecting a replacement, consider the energy density of Ni-Cd, Ni-MH, and Li-ion batteries. Li-ion packs are usually the best choice for energy density and reliability.
For most users, a Li-ion battery offers the best balance of performance and longevity when matched to the clipper’s original specifications. Always refer to the manufacturer’s guidelines for optimal care.
Keep reading
Keep exploring the topic with these related guides: