Corded Hair Clippers: 5 Hidden Checks That Fix 90% of Problems
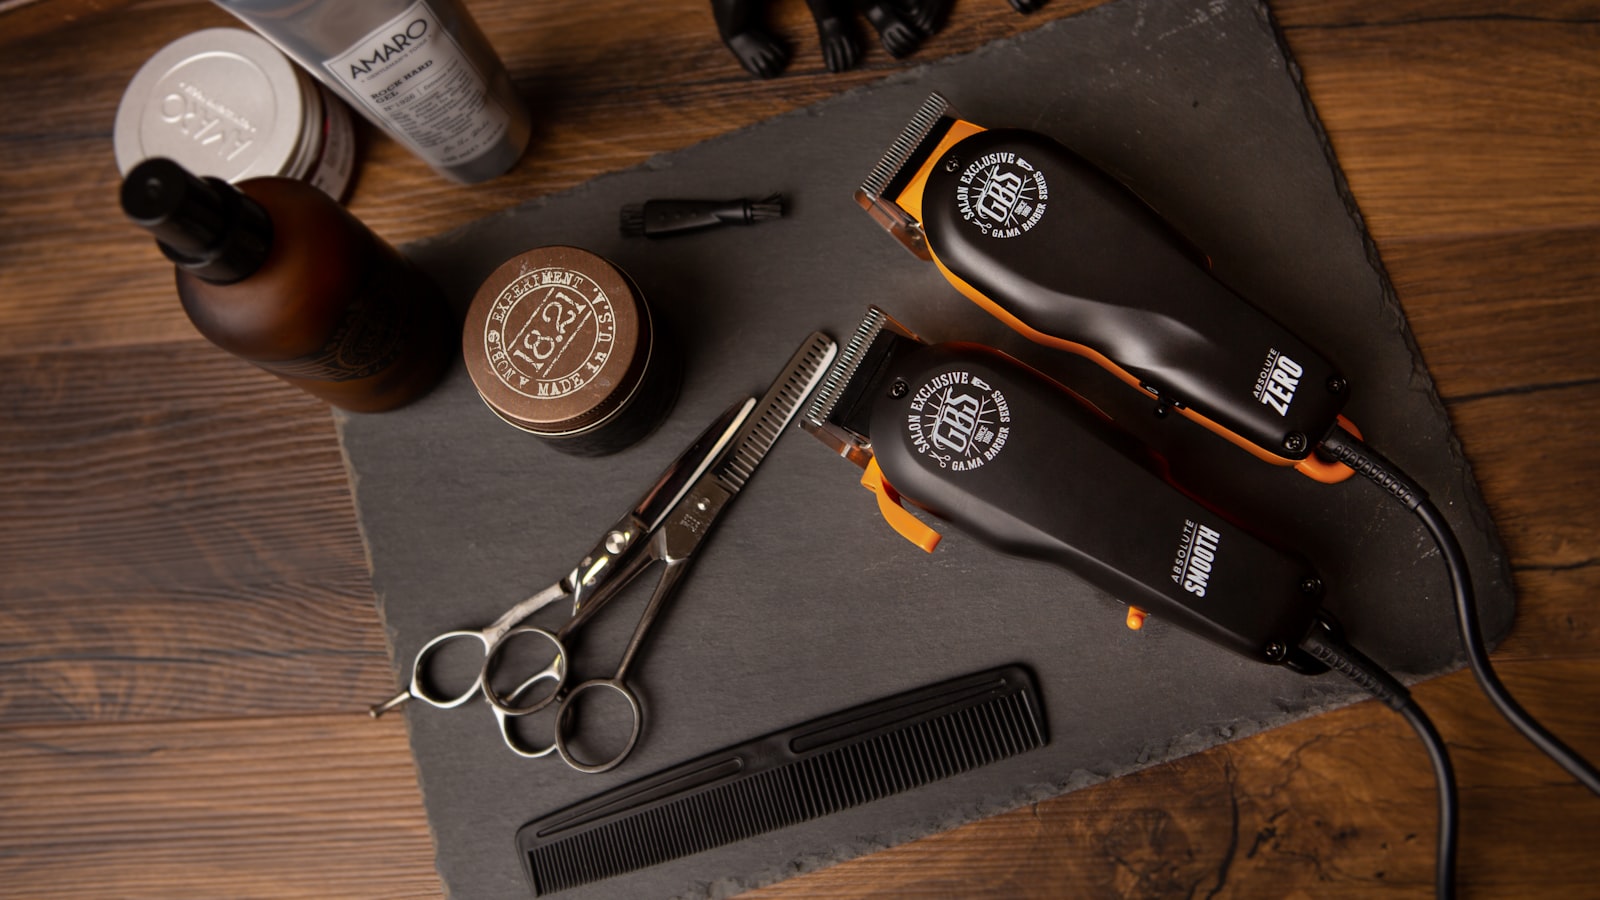
Photo by Andrea Donato on Unsplash
Key Takeaways
Corded hair clippers misbehave for one of five mechanical reasons you can spot without a manual. Blade alignment, motor air gap, brush wear, power draw, and guard compatibility—fixing any one of these stops common failures before they start. Overheating isn’t about the cord; it’s your motor reacting to unseen mechanical drag.
You’ll run these checks with household tools and your own senses: no disassembly required. Each check answers a clear question—is the gap right, is the motor breathing, are the brushes healthy, is the power steady, does the guard fit exactly? One “no” is enough to explain pulling, stalling, or uneven cuts.
If the checks all pass and the problem persists, the failure is beyond DIY repair. Take it to a pro—don’t force worn parts.
Part of our complete guide: for the full picture, see Hair Clippers #6 Guard: What It Actually Does & How to Use It.
How to Tell if Your Corded Clipper Is Out of Spec (Before It Fails)
Your clippers don’t need to die first to show you it’s sick. Three symptoms appear early, and they’re the same whether the clipper is brand-new or twenty years old:
- Uneven cutting lines that wander, leaving strips of missed hair or razor-thin gaps;
- Hair pulling instead of clean cuts, as if the blade is catching instead of slicing;
- Stalling under load — the motor slows or stops when you press the guard against thicker hair.
Any one of these tells you the alignment or balance is off, but they don’t tell you which part to fix. To spot the exact failure before it gets expensive, run a four-step check with nothing more than your hands, a flashlight, and a scrap of cotton fabric. No tools, no guesswork, and no numbers you have to trust from a spec sheet.
Step 1: Listen to the motor under load
Turn the clipper on and let it idle. Note the pitch and smoothness of the motor sound — that’s your baseline. Now press the flat of the guard gently against the scrap fabric and push lightly. The motor should keep its pitch and speed; a sudden drop in pitch or a rougher whine means drag somewhere in the mechanism. That drag is either blade misalignment, a blade gap that’s too tight, or something binding the armature. Mark the first moment the sound changes: that’s your starting symptom, not a spec to chase.
Step 2: Check the blade gap by feel
With the machine off, close the blades until they just touch — you’ll feel a faint chirp or catch. Back them off one guard notch and turn the clipper on again. Run the blades over the fabric: it should slice cleanly without pulling. If it still pulls or leaves uneven lines, the gap is likely too wide or the blade faces are not parallel. This is blind alignment — there’s no spec sheet that tells you the gap on your clipper, only the feel of the chirp and the cut you see.
Step 3: Look for the first sign of mechanical stress
Shine a flashlight along the guard edge where the blade meets the housing. Look for two things:
- A bright line or polished groove on the blade face, signaling the cutting edge is riding too high against the guard — it’s digging instead of slicing;
- Dust packed into the motor vents or a bulge in the motor housing, both signs the air gap is compressed and the motor is overheating.
Either one shows the failure is already under way. Dust in the vents mimics low power and uneven cuts; the bulge tells you the air gap is too small or blocked, and the fix is deeper than cleaning.
Step 4: Inspect the power path
Follow the cord from the plug to where it enters the clipper body. Check for:
- Pinch points or cracked strain relief where the cord bends — these cause intermittent power loss and stalling;
- Loose or arcing connections at the motor terminals when you wiggle the cord gently — a faint buzz or spark is your cue to stop using it until the repair is done.
If the motor runs fine until you add pressure — then stalls or pulls hair — the problem is in the blade or air gap. If the clipper runs sporadically from the moment you plug it in, the trouble is in the power path.
The final call: decide whether to fix it or set it aside
Use this rule:
- If the motor still runs strong under load and the blade gap feels consistent by your chirp, clean the air gap and blades, oil the moving parts, and you’re done.
- If the sound drops, the blade drags, or you see dust packed in the vents, stop here. The fix is beyond home tools — it needs a technician to check brushes, bearings, or motor air gap.
To find someone qualified,
Check 1: Is the Blade Gap Out of Tolerance?
A too-wide blade gap lets hair slip through like a sieve—your clipper skips teeth and leaves uneven, patchy lines. A too-narrow gap traps hair between the teeth; you’ll feel the blades pulling and hear the motor stall when it bites down. Neither symptom waits for the clipper to fail completely—it announces itself early if you know where to look.
The Paper Slide Test: A No-Tools Diagnosis
The blade gap is the hair-thin slot between the moving blade’s teeth and the fixed blade. It’s adjustable, but you don’t need a manual to find it. Grip the clipper firmly, switch it on, and let the blade run for a second. Then switch it off and let the blade coast to a stop.
Take a standard sheet of printer paper—20 lb bond is fine—and slide it flat between the blades at the front edge, where they first meet the hair. The paper should pass through without resistance, but it should feel like it’s being lightly tugged by the teeth. If it slips through easily with little or no tug, the gap is too wide. If you feel strong resistance or the paper tears, the gap is too narrow.
This test works the same on any corded clipper, regardless of brand or model, because the symptom—uneven cutting lines or hair pulling—is universal. The only variable is where the adjustment lives on your specific clipper, and that you’ll find by feel.
Finding the Adjustment: The Eccentric Screw and Blade Carrier
Most clippers hide the gap adjustment in the blade carrier. Turn the clipper over and locate the eccentric screw—it’s typically a small, recessed screw on the underside of the blade carrier, often marked by a tiny dot or arrow. Loosen it with an Allen key or a flat screwdriver, depending on the model. Once loose, the entire blade carrier can be shifted forward or backward with your fingers.
Slide the carrier forward to widen the gap, or backward to narrow it. After each small adjustment, rerun the paper slide test. The goal isn’t a specific measurement—it’s the tug. When the paper slides through with a light, even resistance, the gap is in tolerance. Lock the eccentric screw down firmly to secure the setting.
If you adjust and the clipper still pulls hair or skips teeth, the problem isn’t the gap—it’s moving on to the next check.
Check 2: Is the Motor Air Gap Clogged or Compressed?
 Photo by Hai Phung on Unsplash
A clogged motor is like a choked breath — it wheezes when it should hum. The first sign is the high-pitched whine that rises under load, turning a steady growl into a strained scream when you press through thicker hair. That’s the motor starved for air, working harder to push the same cut.
The real damage happens in two tight spots where dust collects: the vents cut into the motor housing and the narrow gap around the brush plate. Start by running your finger along the vent slits — if they’re packed with hair and oil sludge, that’s air trying to pass through a screen of lint. Compressed vents from a drop or a fall are harder to fix; the housing itself bends inward, pinching the opening shut. Dust clogs respond to cleaning; bent metal usually needs replacement.
Test airflow the same way HVAC technicians do: hold a strip of paper (like a dollar bill or receipt) an inch from a vent while the clipper runs. A strong draft should pull it tight; if it barely moves, the path is restricted. Don’t trust the sound alone — some clippers whistle louder when they’re clean but low on power from other causes.
If cleaning the vents and brush plate gap doesn’t restore normal airflow, the damage is internal. A kinked housing or collapsed internal baffle won’t fix itself, and forcing more air through with a shop vac just moves the problem downstream. Check the blade gap next — if it’s still tight and the motor still struggles, the failure is mechanical, not just dirty.
For the full cleaning routine that keeps vents clear and brushes fresh, follow our step-by-step guide.
Check 3: Are the Brushes Worn or Arcing?
Brush wear announces itself before it kills the motor—two symptoms reveal it clearly. The first is sparks at the commutator: turn the clipper on and listen near the motor vents or brush plate. A regular, rhythmic snapping sound—like a tiny sparkler popping—isn’t just noise; it’s the brush jumping gaps in the commutator as it turns. The second symptom is sudden power loss under load: if the clipper cuts freely in air but bogs down or stalls when you press into thicker hair, the brushes can’t deliver current smoothly.
You don’t need to tear the motor open. Most corded clippers let you peek at the brushes through vents in the motor housing or a small access hole in the brush plate. Shine a flashlight and look for two things: dark streaks or pits on the commutator surface, and brushes that are visibly shorter or cracked. If the brushes look uneven—one shorter than the other, or one sparking while the other stays dark—the motor is already unevenly loaded, and the armature is taking the beating. That uneven wear means the motor won’t last as long even after you replace the brushes.
Arcing isn’t just a nuisance; it’s a warning that electrical energy is turning into heat and pitting instead of torque. The snapping sound you hear is wasted wattage—each arc is a moment the circuit opens, and the motor slows down waiting for it to close again. Ignoring it doesn’t just risk seizing the armature—it can melt the brush plate from repeated overheating. If you catch sparking early, swapping brushes is a 15-minute job with a screwdriver and a replacement kit. Wait until the clipper stalls mid-cut, and you’re paying for a motor rebuild or a replacement clipper.
Decision rule: If you see sparking through the vents or uneven brush wear, stop cutting and replace the brushes immediately. Use the manufacturer’s brush kit and follow their torque spec on the brush plate screws—torque too tight and the brush won’t ride properly; too loose and they’ll buzz in the holder. No spec sheet handy? The kit’s instructions usually include a simple torque diagram.
Check 4: Is the Power Draw Stable or Sagging?
Sagging power draw is the electrical symptom of mechanical drag you can’t see until you measure it. A clipper that once hummed smoothly starts dragging the blade or binding in the motor will draw less current over time—even if the motor still spins. That drop isn’t the cord’s fault; it’s the machine telling you something mechanical is wrong. The fastest way to spot it is with a plug-in watt meter, the same tool used to track energy usage around the house.
How to measure it
Plug your clipper directly into a plug-in watt meter (the kind that sits between the wall outlet and the clipper’s power brick). Turn the clipper on and let it run for 30 seconds to stabilize. Watch the meter’s highest reading—that’s your baseline. Now run the clipper normally for 2–3 minutes while cutting through a scrap of fabric or thick paper. If the number drifts downward by more than a narrow band, or if the clipper slows noticeably—that’s sagging draw, and it’s pointing to blade drag or motor binding, not the cord or power supply.
What the numbers mean
A stable draw stays within a narrow band while you cut. A sagging draw drops gradually over the first minute or two, sometimes followed by overheating or stalling. The sag isn’t random: it’s the motor struggling against increasing resistance as the blades or bushings wear. Unlike a failing power supply, this pattern tightens slowly, like a rusty hinge that gets harder to open the more you use it.
Isolating the cause in five minutes
Start with the blades.
- Check blade gap first (see Check 1). If the gap is too tight or uneven, the blades will drag even if they look aligned.
- Remove the blade and run the clipper empty. A stable draw here means the blade is the culprit.
- Reinstall the blade and test again. If the draw drops again, the blade needs cleaning, oiling, or replacement.
- If the draw is still sagging with no blade, open the clipper and inspect the motor brushes (see Check 3). Worn brushes create electrical drag by arcing instead of making clean contact.
- If neither fixes it, the motor itself may be binding—usually from debris in the air gap (see Check 2) or worn bearings.
The power draw test is the canary in the coal mine: it won’t tell you exactly where the drag is, but it will tell you when something is dragging—before your clipper overheats or stalls mid-cut. Fix the blade first, then move downstream. If the sag persists after all three checks, the motor is likely worn and may need service.
Check 5: Is the Guard Compatible with the Blade and Motor?
Your clippers can cut cleanly—until the guard you trust starts changing the game. The mismatch isn’t always obvious: the guard looks like it fits, the blade spins normally, but the cut pulls or leaves uneven lines. That’s not the clipper’s fault—it’s a mechanical fitment issue, and it’s the one most troubleshooting guides overlook.
Guards fail in three distinct ways, and each one has a visible symptom. The first is shank height mismatch: the guard’s base sits too high or too low relative to the blade carrier. Too tall, and the blade lifts off the scalp, grabbing instead of gliding; too short, and hair slips under the guard, creating uneven trim. The second failure is blade carrier clearance: the guard rests against the carrier’s edge, dragging the blade off-center and causing streaks. The third is guard-to-blade gap: when the guard’s teeth don’t align with the blade’s teeth, the cut follows the gap instead of the guard’s edge.
To spot shank height issues without the manual, compare the old guard to the clipper’s illustration. If the drawing shows a flat base and your guard has a raised lip, that lip is lifting the blade. If the guard’s base sits flush but your cuts still pull, the problem isn’t height—it’s clearance. Run a quick scrap fabric test: fold a thick swatch in half, place it on a flat surface, and glide the clipper over it with the guard on. A well-fitted guard will cut smoothly; a mismatched one will bunch the fabric or leave uneven edges. If the test fails, the guard isn’t compatible—but the clipper itself is fine.
The guard that came with your clipper is the safest bet. Aftermarket guards often cut corners on fitment. If you need alternatives, consult our guide to How to Verify Cross-Brand Blade Compatibility—but only after confirming the guard’s fit with the scrap test. A guard that passes this simple check won’t sabotage your clipper’s performance.
What to Do When the Checks Don’t Fix It
 Photo by mostafa meraji on Unsplash
If all five checks pass but your corded clipper still pulls hair, stalls under load, or overheats during a cut, the problem is now internal. The motor is dragging, the blade carrier is warping from side load, or the commutator is pitted from arcing brushes that looked fine. These failures don’t leave visible wear on the parts you can reach, but they do show up as a drag that your tests didn’t catch: the blade slows when you press, the cut isn’t crisp, and the motor runs hotter the longer you keep it loaded.
The three job-site failures that always need a pro are:
- Internal blade carrier warping — you’ll feel a rhythmic drag that changes with angle
- Motor bearing wear — a high-pitched whine that rises under load
- Commutator pitting — the clipper sparks at the brushes and the cut degrades
Skip the forums promising DIY fixes. Re-bushing the motor isn’t enough once the bearings are pitted, and skimping on commutator work leaves the arcing that started the stall. A proper tune-up requires an arbor press, a dial indicator, and the shop’s service manual for your exact model—none of which travel well between barbershops.
How to find the right technician
Search for “vintage hair clipper repair” or “professional clipper service” in your area. Look for shops that list clipper work on their site; avoid general electronics repair unless they explicitly call out hair clipper motors. Call and ask two questions: whether they stock bearings and bushings for your brand, and whether they surface the commutator. If the answer is yes to both, book the job.
What to expect cost-wise
A basic tune-up covers blade realignment, brush replacement, and oiling. If the tech finds worn bearings or a pitted commutator, the repair will require additional work. Always ask for a written estimate before they open the motor; if they quote by the hour with no cap, walk away.
Next step
If the clipper is old, weigh repair cost against replacement. Use our When to Take It to a Professional vs DIY Fixes guide to decide in under two minutes.
Frequently Asked Questions
Why your blades are sharp and it still pulls
A sharp blade that still pulls hair is almost always a tolerance failure, not a sharpness failure. The symptom appears when the blade gap—the gap between the stationary and moving blades—is too wide. When the gap is correct, the moving blade lifts the hair slightly before the stationary blade severs it. If the gap is too large, the hair slips beneath the moving blade instead of being lifted, and you feel the tug even though the edge is still sharp. The gap isn’t something you eyeball—it’s a dimension maintained by the blade carrier and the way the blades seat. If the blade carrier is bent, the blades sit improperly, and the gap becomes uneven across the cut. If the moving blade is loose in its carrier, it rides too high and the gap widens where it matters most. The fix isn’t to hone the blade again—it’s to check the blade carrier for warp and the blade screws for proper torque before you assume the blades are dull.
Can you clear motor vents with a vacuum?
A vacuum is fine for surface dust, but it leaves behind the fine metal dust that causes the real damage. Corded clippers blow hot air through their vents, and that air carries metal shavings from the blade and housing. A vacuum picks up the big pieces but redistributes the fine ones inside the motor housing, where they settle onto the brushes and commutator. Those particles act like sand in a bearing: they increase friction, arc across the commutator, and eventually burn the brushes or seize the motor. The right way to clean is to use compressed air from the opposite side of the vents—blow through the clipper, not into it—so the dust exits the way it came in. Point the air nozzle at the brush plate and the rear vents, and keep the clipper tilted so debris falls out, not deeper in. If you must vacuum, hold the clipper upside down while you gently suction the intake side only—never the exhaust vents.
Warm motor or overheating?
A clipper that’s warm to the touch after a few minutes is normal. An overheating clipper feels hot within seconds, smells like burnt plastic, or stalls under light load. The difference is load and airflow. When the motor air gap is clear and the vents are open, warm is the compressor heat bleeding off. When the air gap is clogged with dust or the vents are blocked by hair, the heat can’t escape, the windings rise in temperature, and the insulation softens. The smell is the giveaway—burnt plastic means the motor is already cooking. If it happens after just a minute of cutting, run the diagnostic from Check 2 (motor air gap) and Check 4 (power draw). A clipper showing excessive heat early is telling you it’s time to clear the vents, not the blades.
Oiling while plugged in: yes or no?
Unplug it first. Lubricant on live circuits is a fire risk and a shock hazard, especially when it’s drawn into the motor by capillary action through the brush plate. Most clipper manuals warn against oiling while plugged in, but that warning isn’t on the box—it’s in the service documentation buried on the manufacturer’s site. The exclusion is written as “do not operate or oil while connected to power” and it’s the paragraph that decides warranty coverage if the motor seizes. If you’re in a hurry and “plugged in” means the clipper is sitting on the counter with the cord draped over it, you’re already in the danger zone. Unplug, oil, plug back in only after you’ve wiped off excess and run the clipper for 30 seconds to spin out any pooling oil.
Uneven cuts after blade swap
Replacing the blades fixes the edge, but uneven cuts come from guard misfit, not blade sharpness. If the guard shank height is wrong for your motor or blade carrier, the blade sits too high or too low relative to the guard’s cutting line. A guard too high leaves lines—it rides over bulk instead of cutting through it. A guard too low rides into the skin and forces the blade to cut at the wrong angle, creating uneven taper. The scrap fabric test from Check 5 tells you immediately: tape a scrap of cotton onto your arm, set the guard you think fits, and cut. If the fabric shows stripes, the guard is too high; if it burns or snags, it’s too low. The fix isn’t to buy a new blade—it’s to match
Keep reading
Want to go deeper? Read our guide on Fix Hair Clippers Not Cutting: 7 Expert Solutions.